Fixing Aerogarden Harvest Elite LCD | How To Fix a Broken Display That’s Not Working | Aerogarden Troubleshooting
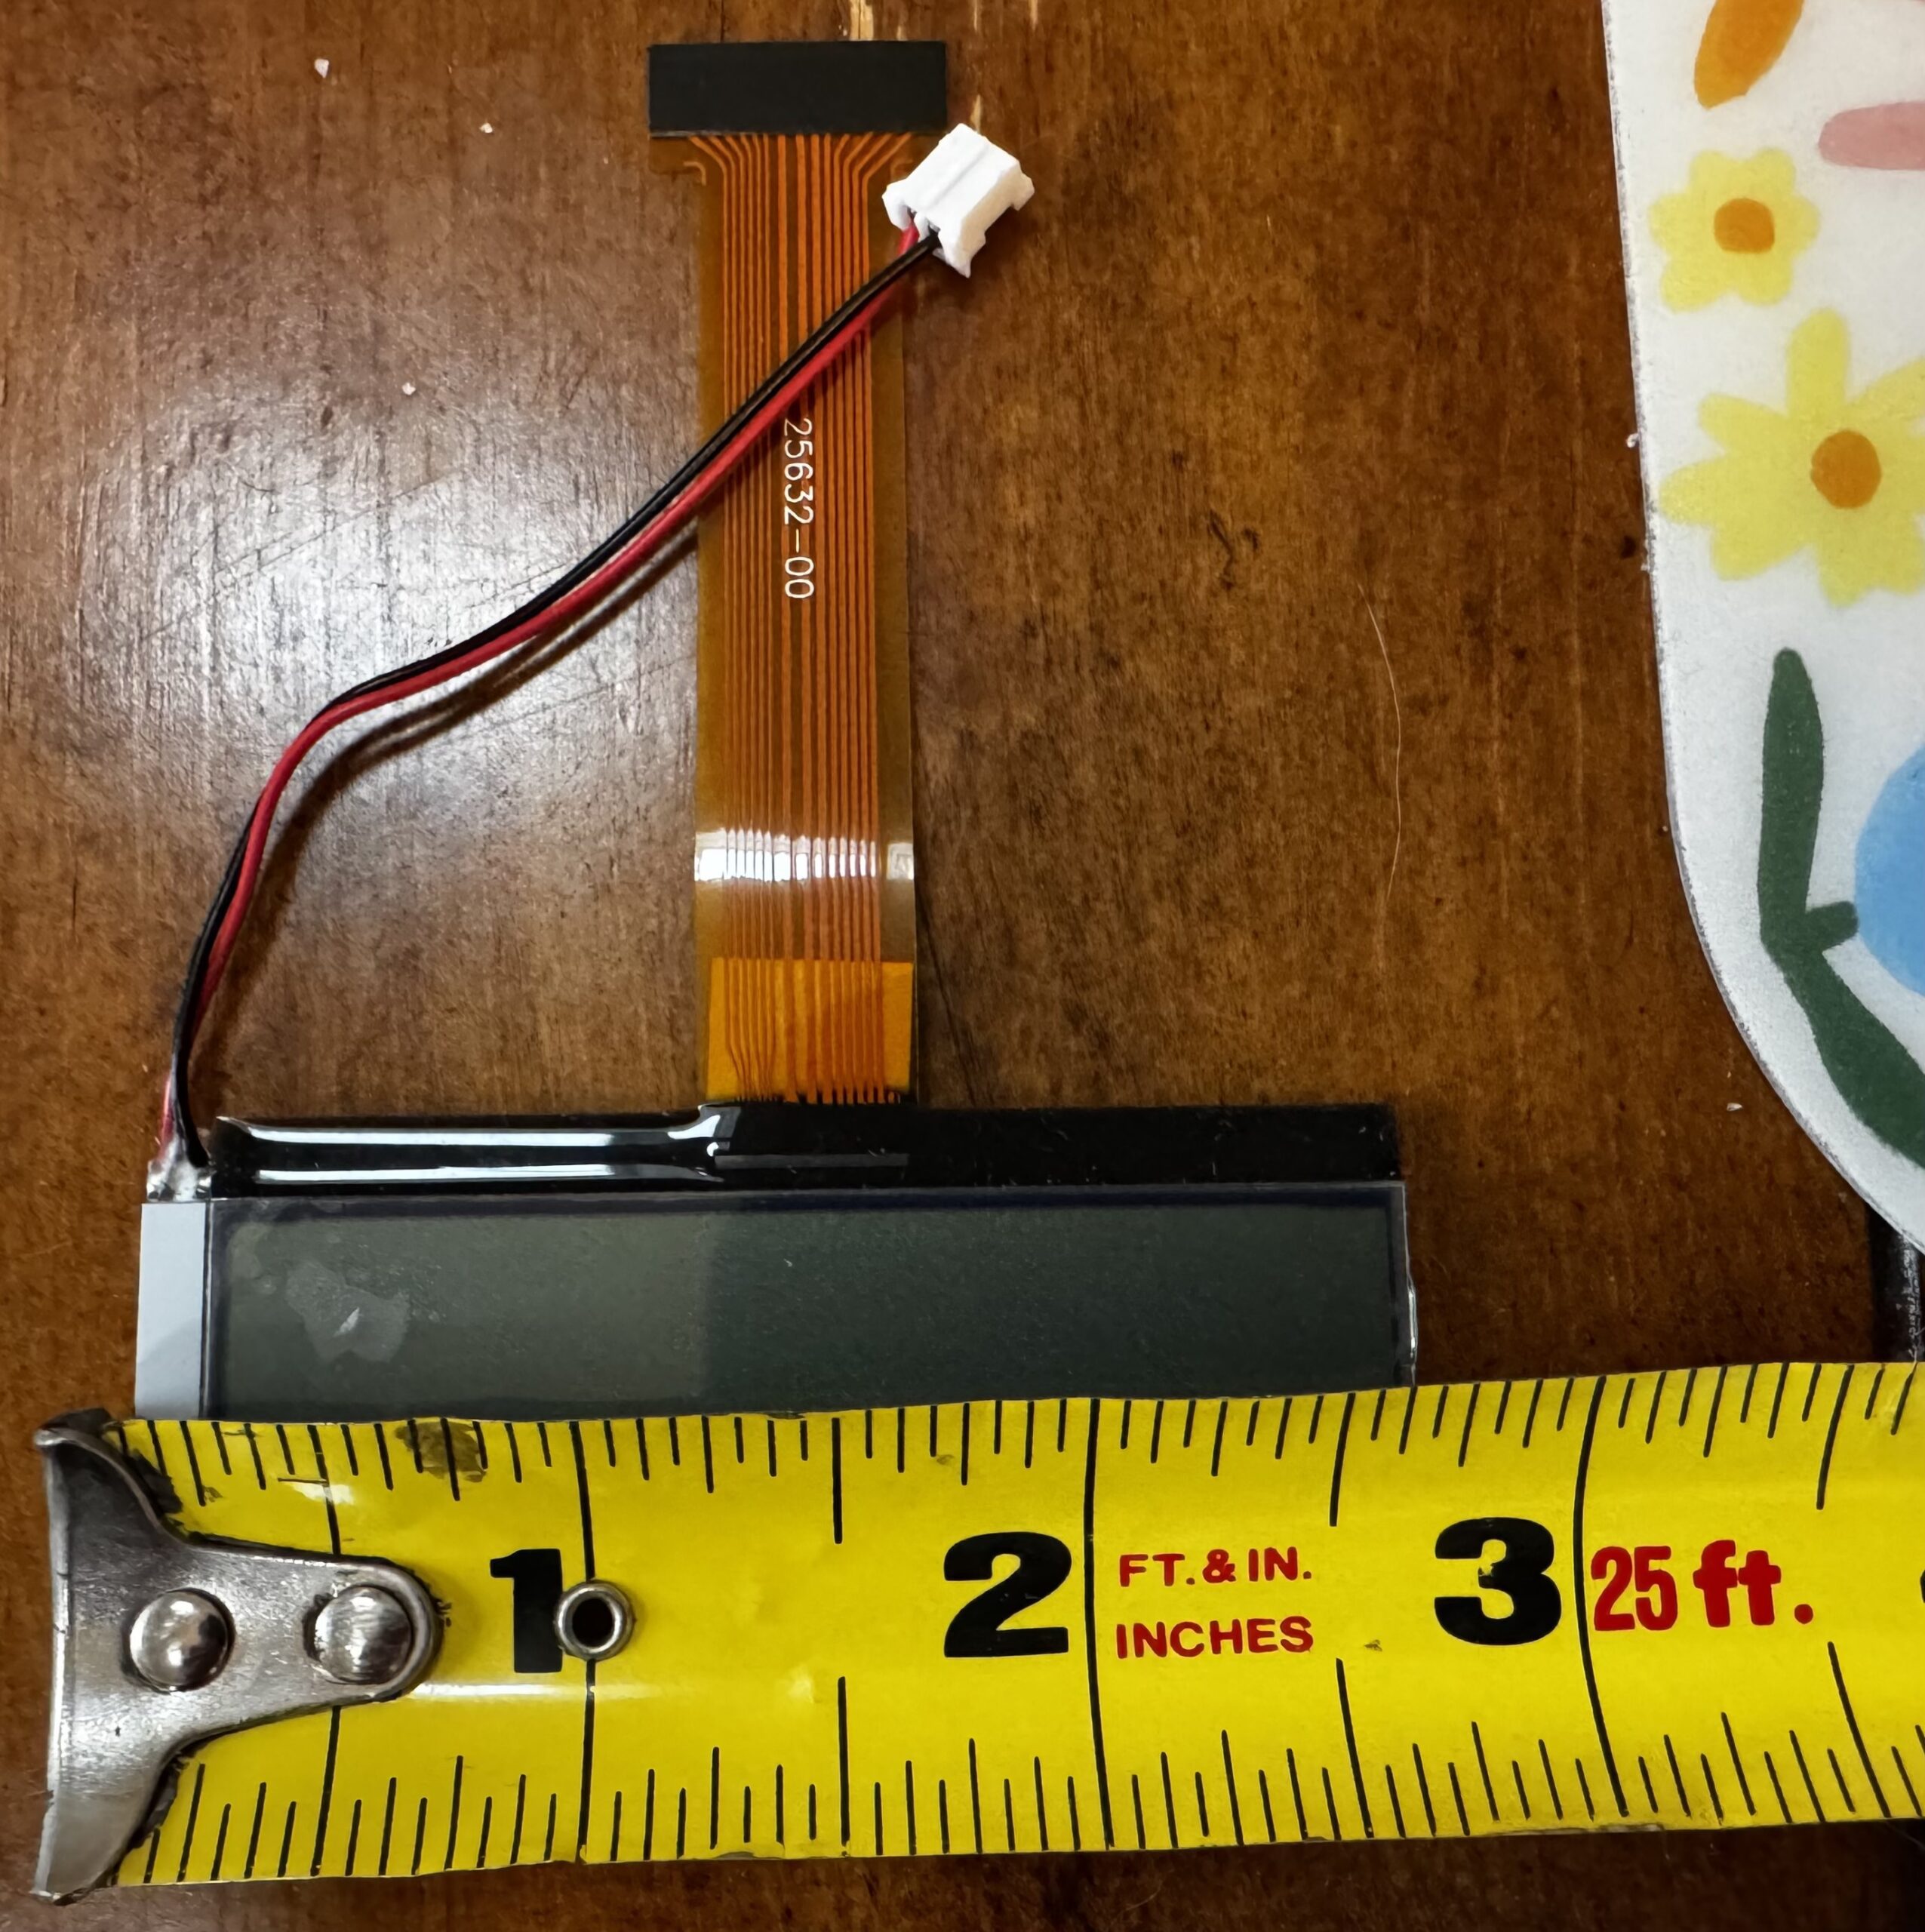
If you’ve run into the same issue I had where your Aerogarden Harvest Elite one day decided to have a blank LCD screen, then this is the guide you’ll want to follow to fixing it. The fix itself takes about 10 minutes, and can be done with a couple screws out and a replacement 25632-00 LCD (I have sold to owners of the Harvest Elite 360 and the Slim and seems to be the same screen.) I had to go this route since Aerogarden wouldn’t replace mine, and I didn’t want to shell out more cash for a new one + everything about mine is perfectly fine minus the stupid screen!
For Anyone That Needs These Aerogarden Replacement Screens…
If you don’t want to wait a month for them to come from China or pay the tariffs I have a couple for sale here.
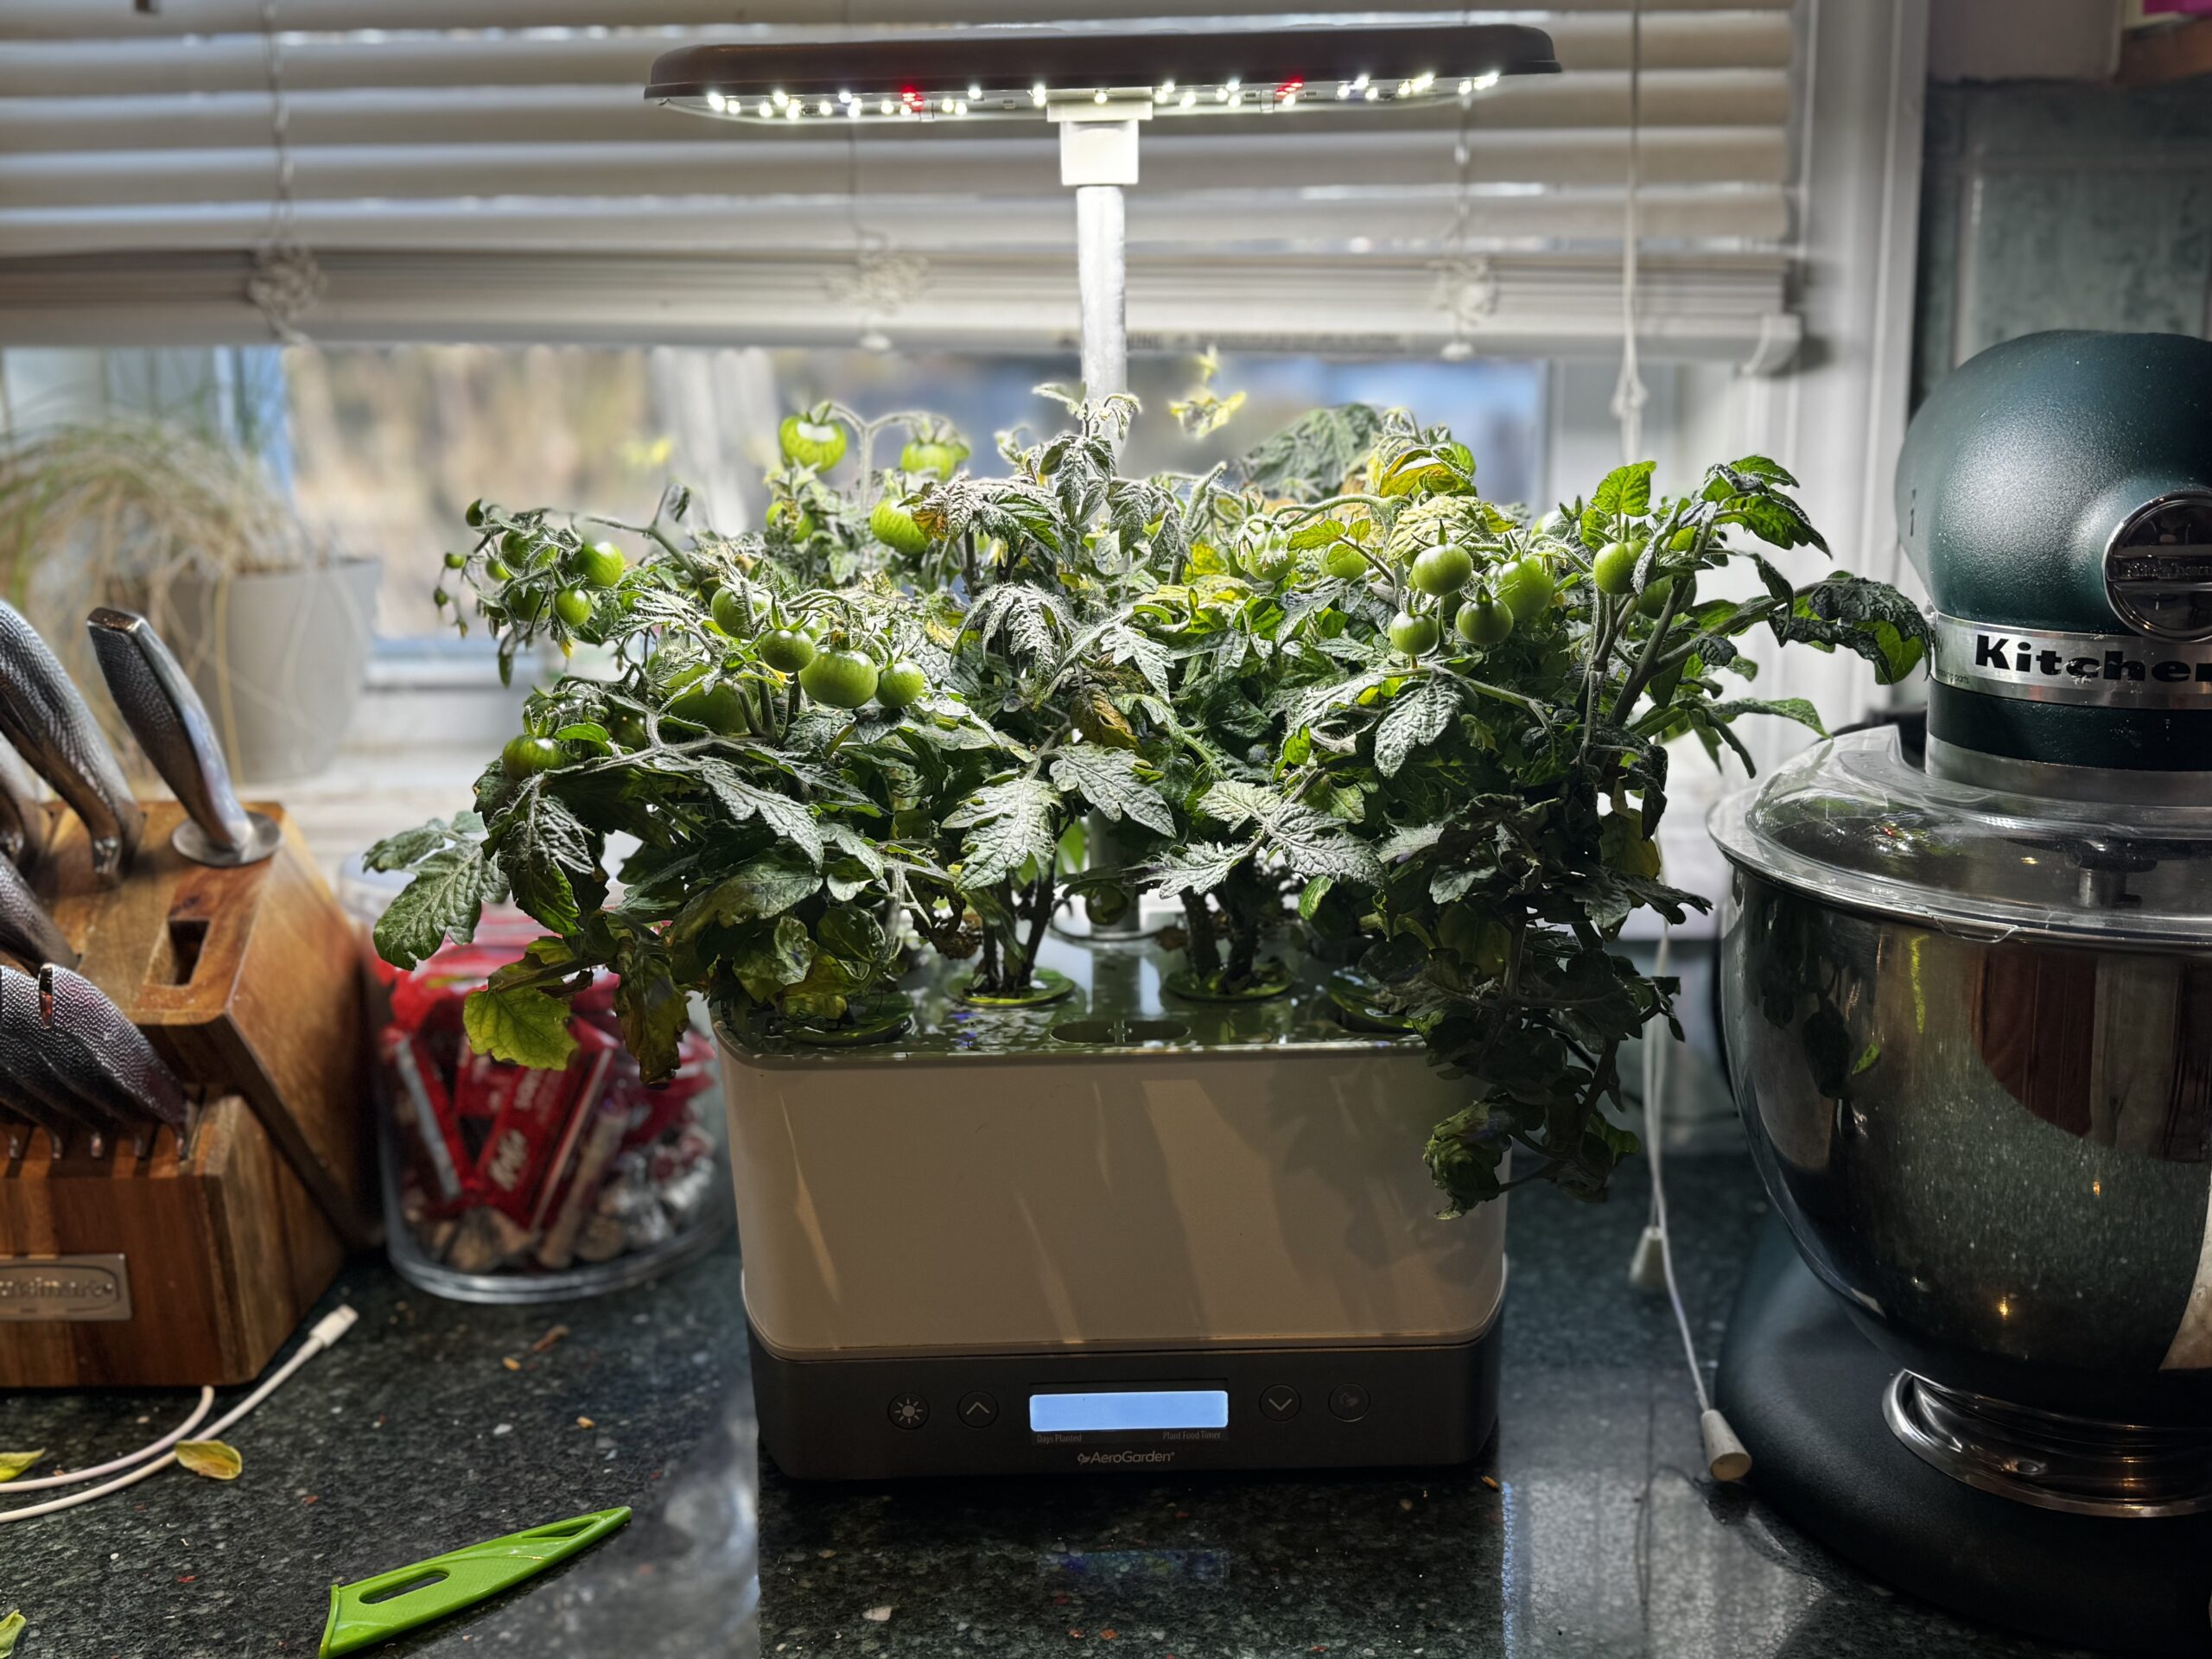
Another successful Aerogarden repair!
Aerogarden LCD Repair – Fix Broken / Blank Screen
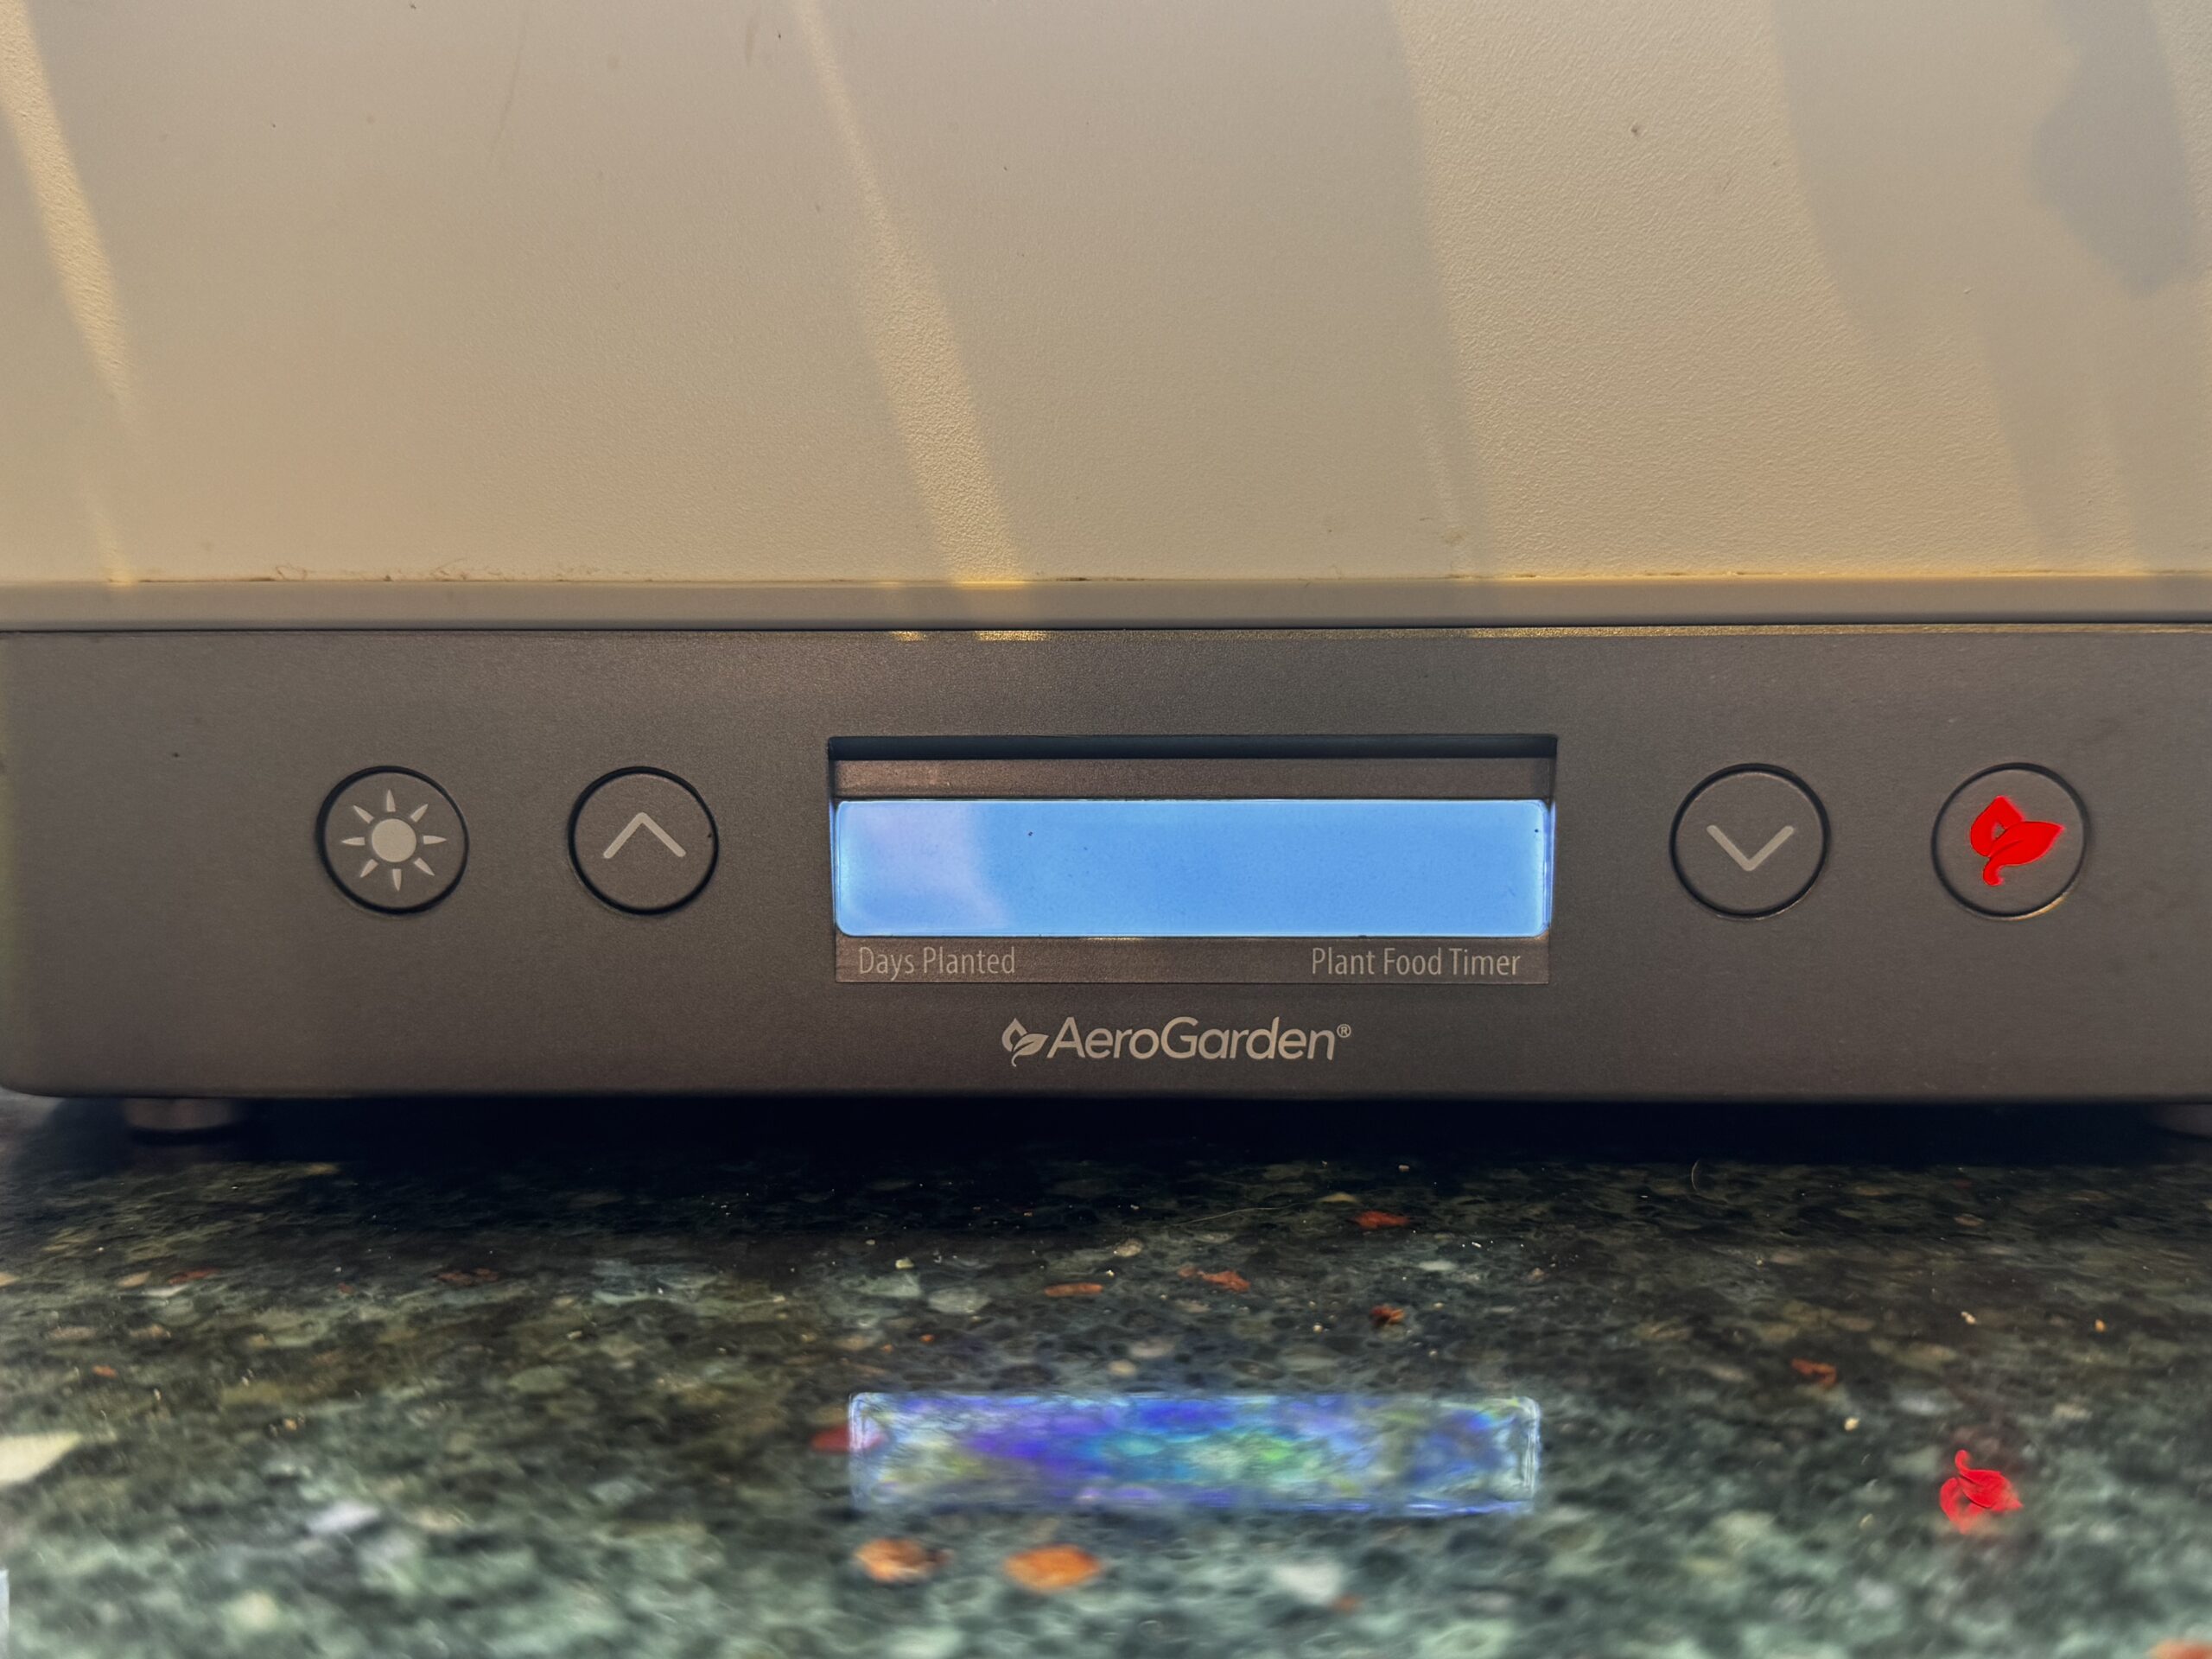
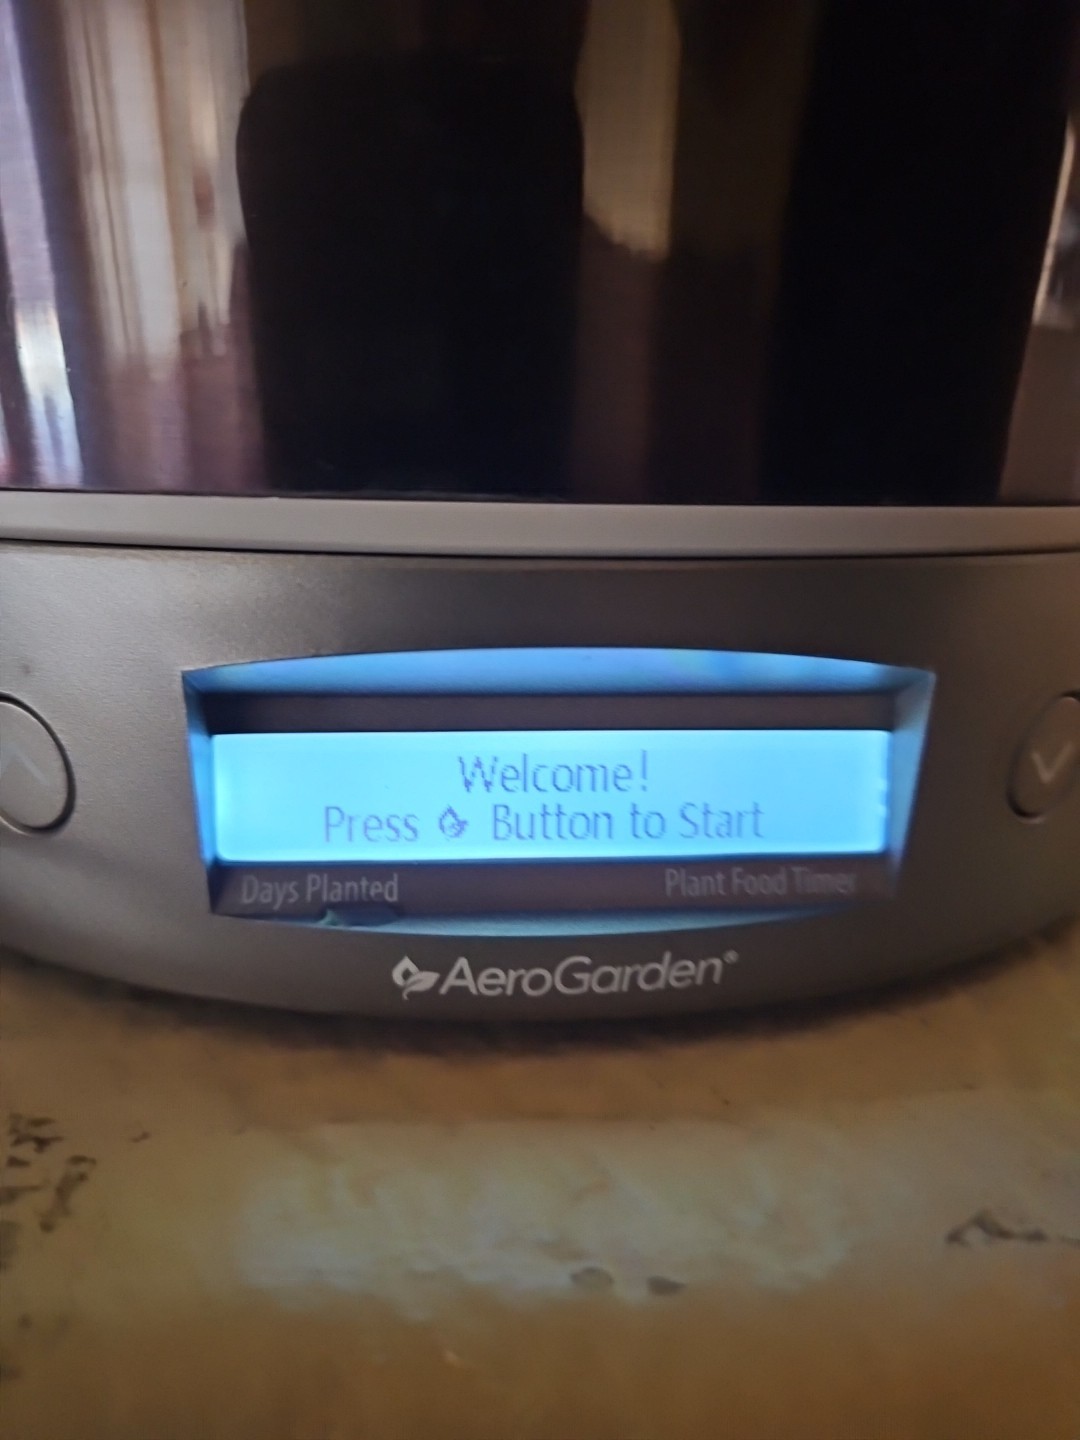
It started like any other day, but when I checked my AeroGarden Harvest Elite, the screen was blank and the backlight was on.
I had to resort to a manual workaround. Every day, I’ve now found myself pressing the light button because the clock is off after I unplugged the unit thinking it was something a reboot would fix. Then the power went out for a few minutes a few days later and now it’s really off schedule!
Frustrated but curious, I decided to investigate and see if I could fix it myself (Check the top or bottom of this page for a link to the LCD you’ll need).
I did a quick search and found a Reddit thread on the topic, someone had the exact same issue as me about a year ago. I looked high and low for the LCDs, but could not find one source in the USA except for one seller on eBay that wanted an exorbitant price! I refuse to pay what is turning out to be more than half the cost of a replacement unit for a stupid little screen.
Taking It Apart: My DIY Attempt
Any who, I pulled my machine apart this AM and it was quite simple….
Here’s how it went:
- Gathering Tools: I grabbed a small screwdriver, my drill, and a set of tweezers to disassemble the unit.
- Before Doing Anything: Unplug the unit from power & unplug the vertical pump plug too.
Fixes Slim too
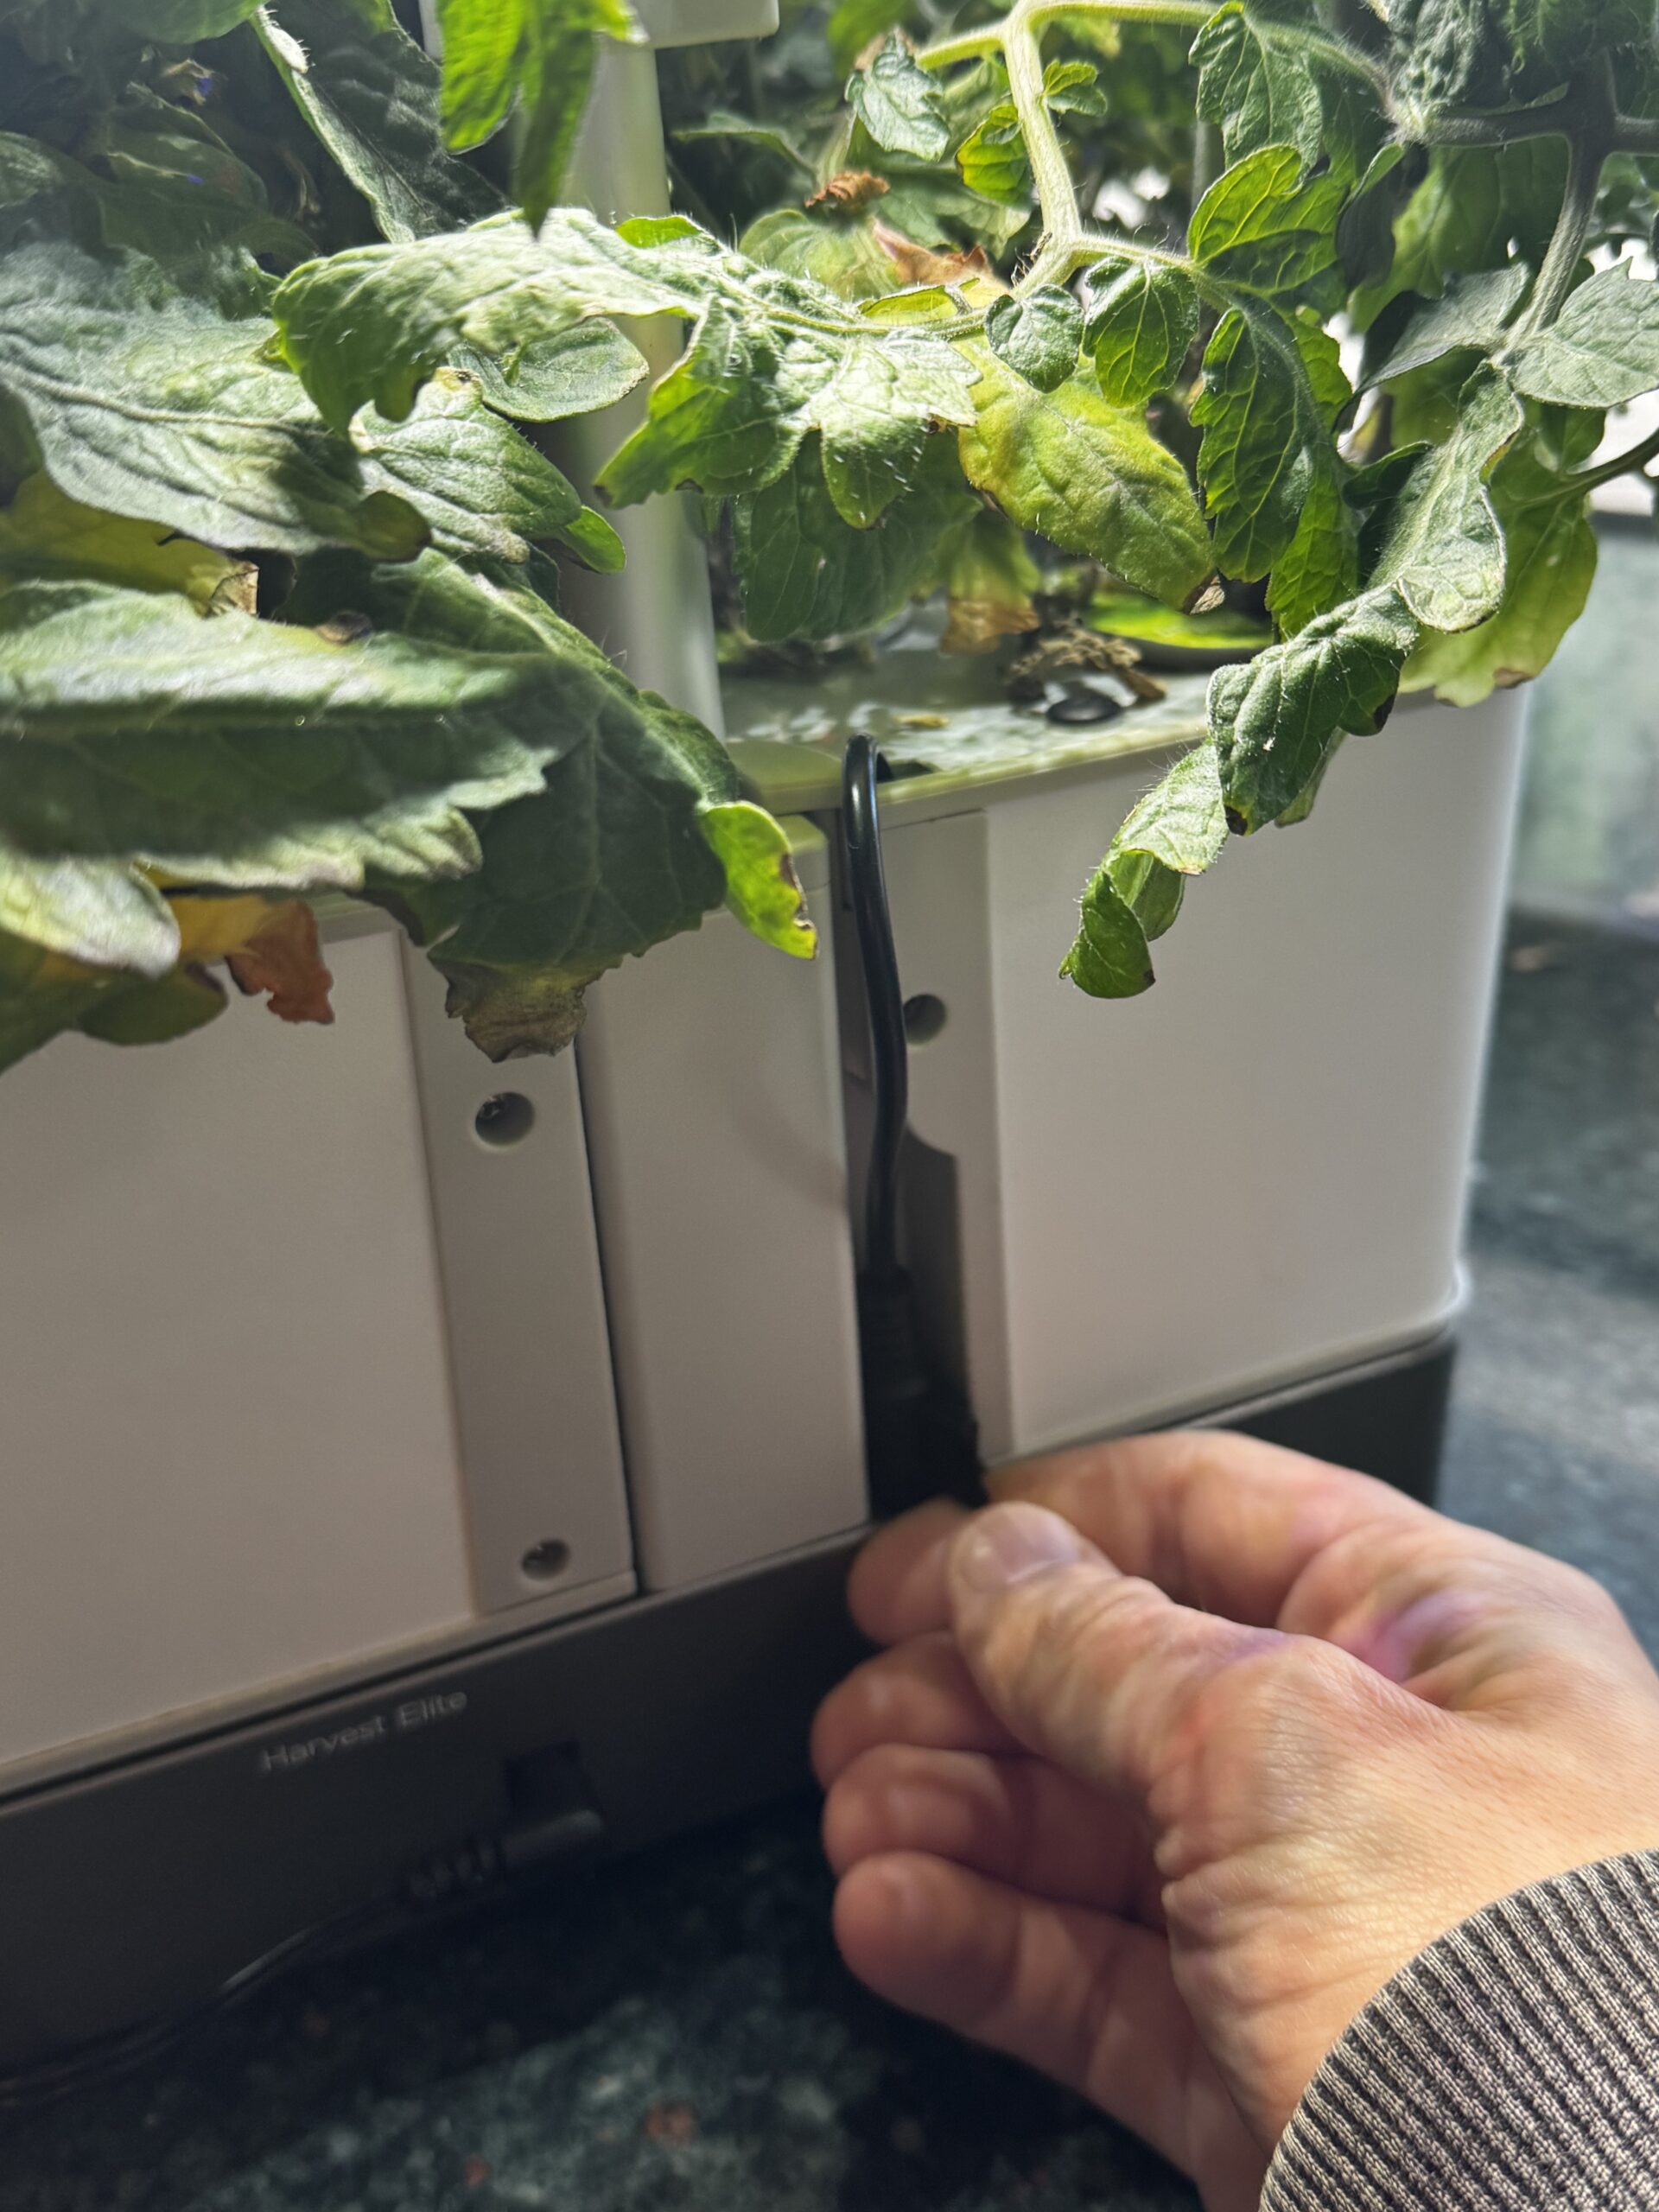
- Remove the Plant Basin: It literally lifts up and out, put it to the side.
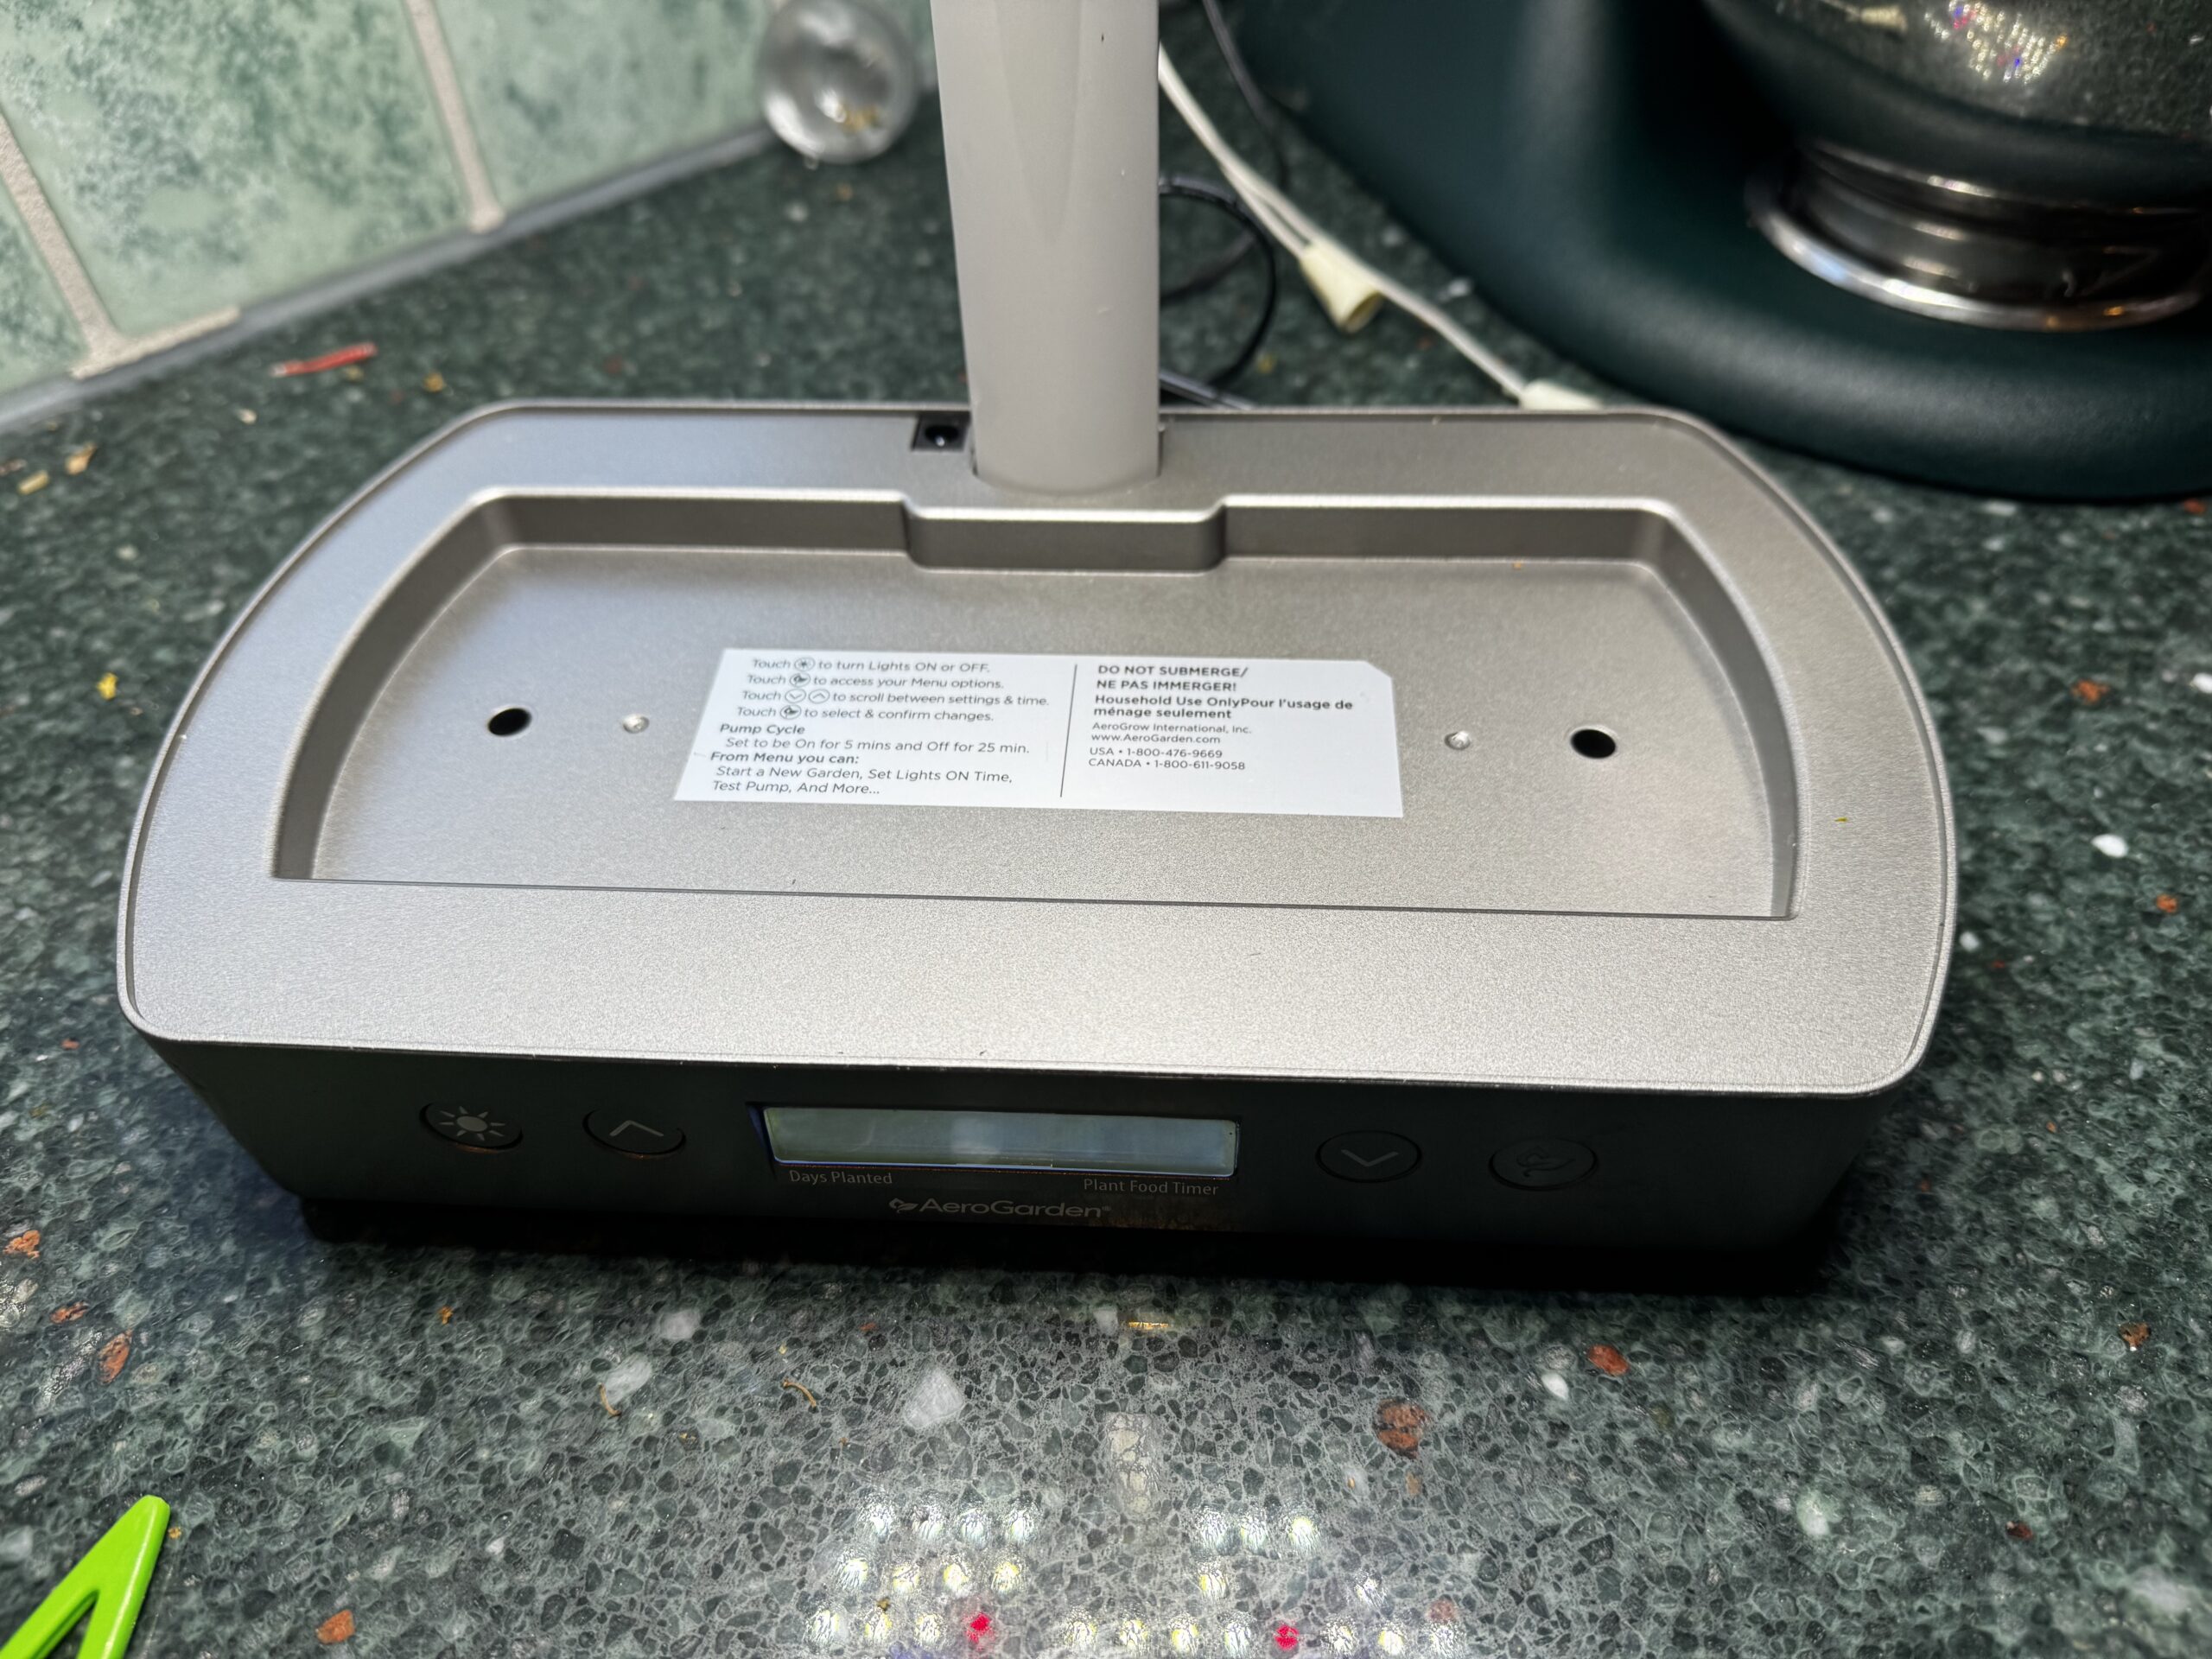
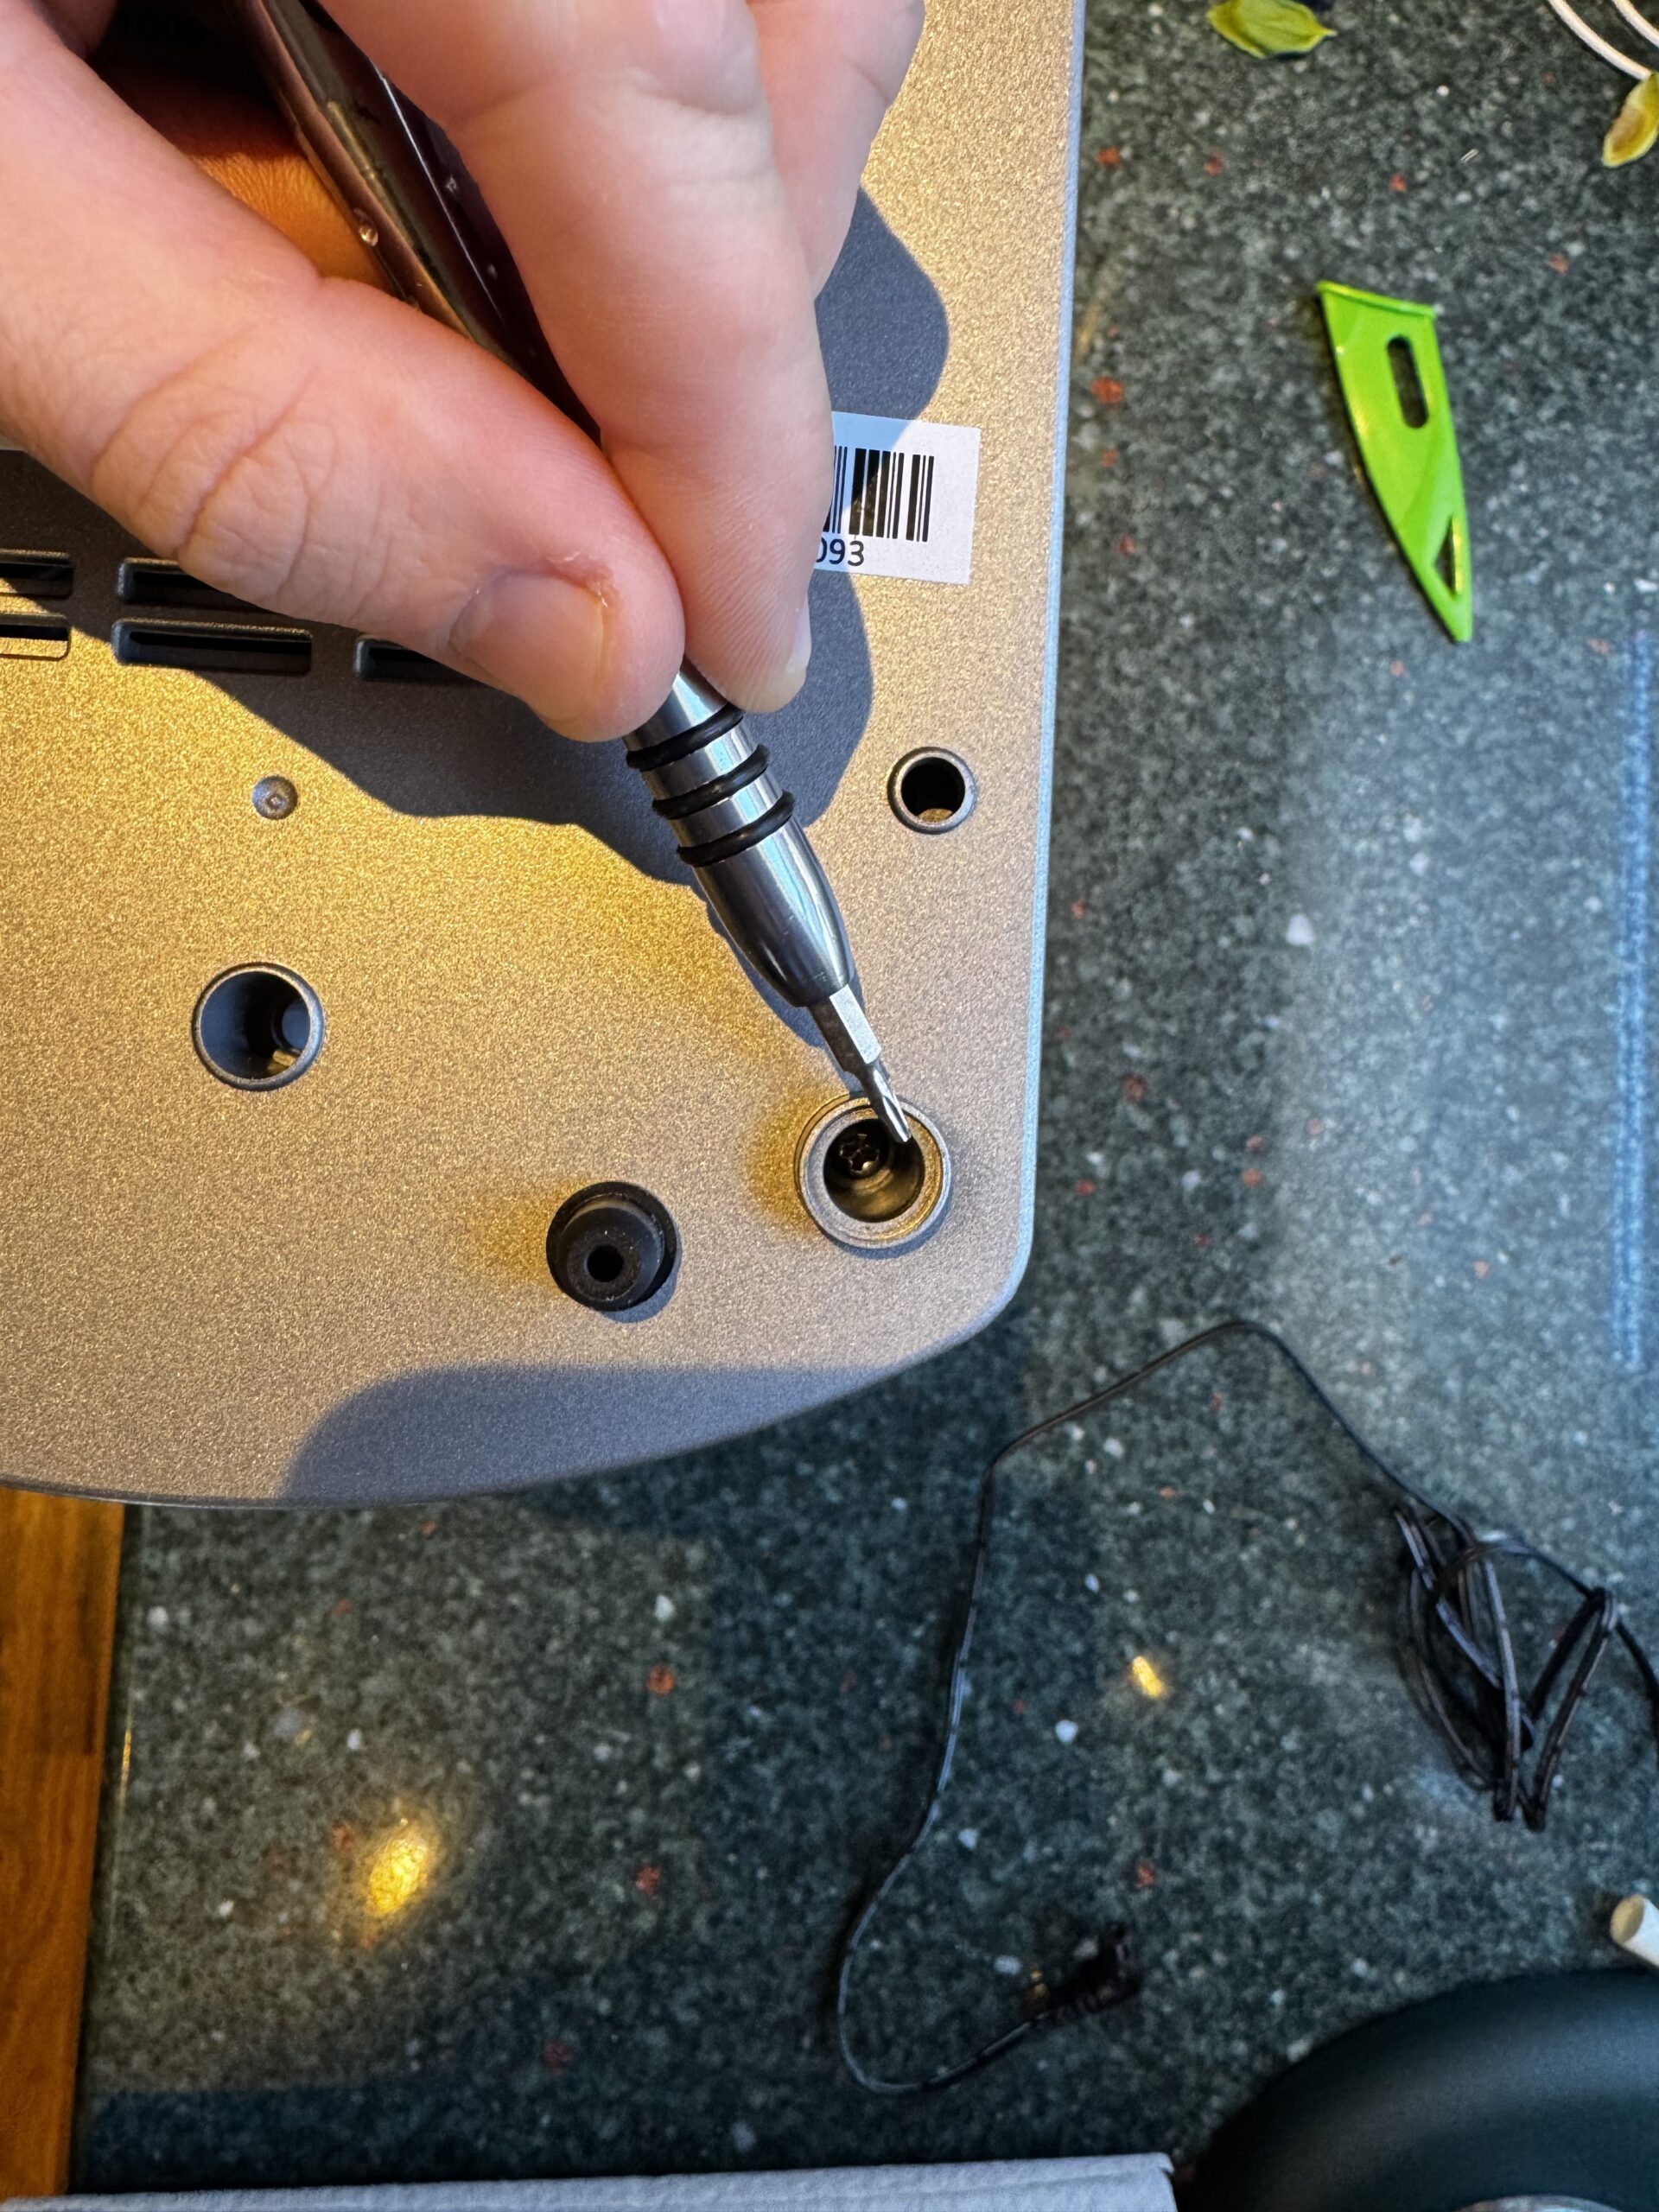
- Opening the Unit: Gently remove the four rubber feet with a set of tweezers or the screwdriver. Remove the four screws. Also remove the 3 screws in the center — which holds the light support.
- Remove the Bottom: The bottom should split apart. Be careful when you pull them apart, the LED lights have some wiring that is attached and you don’t want to rip the connection!!!!!
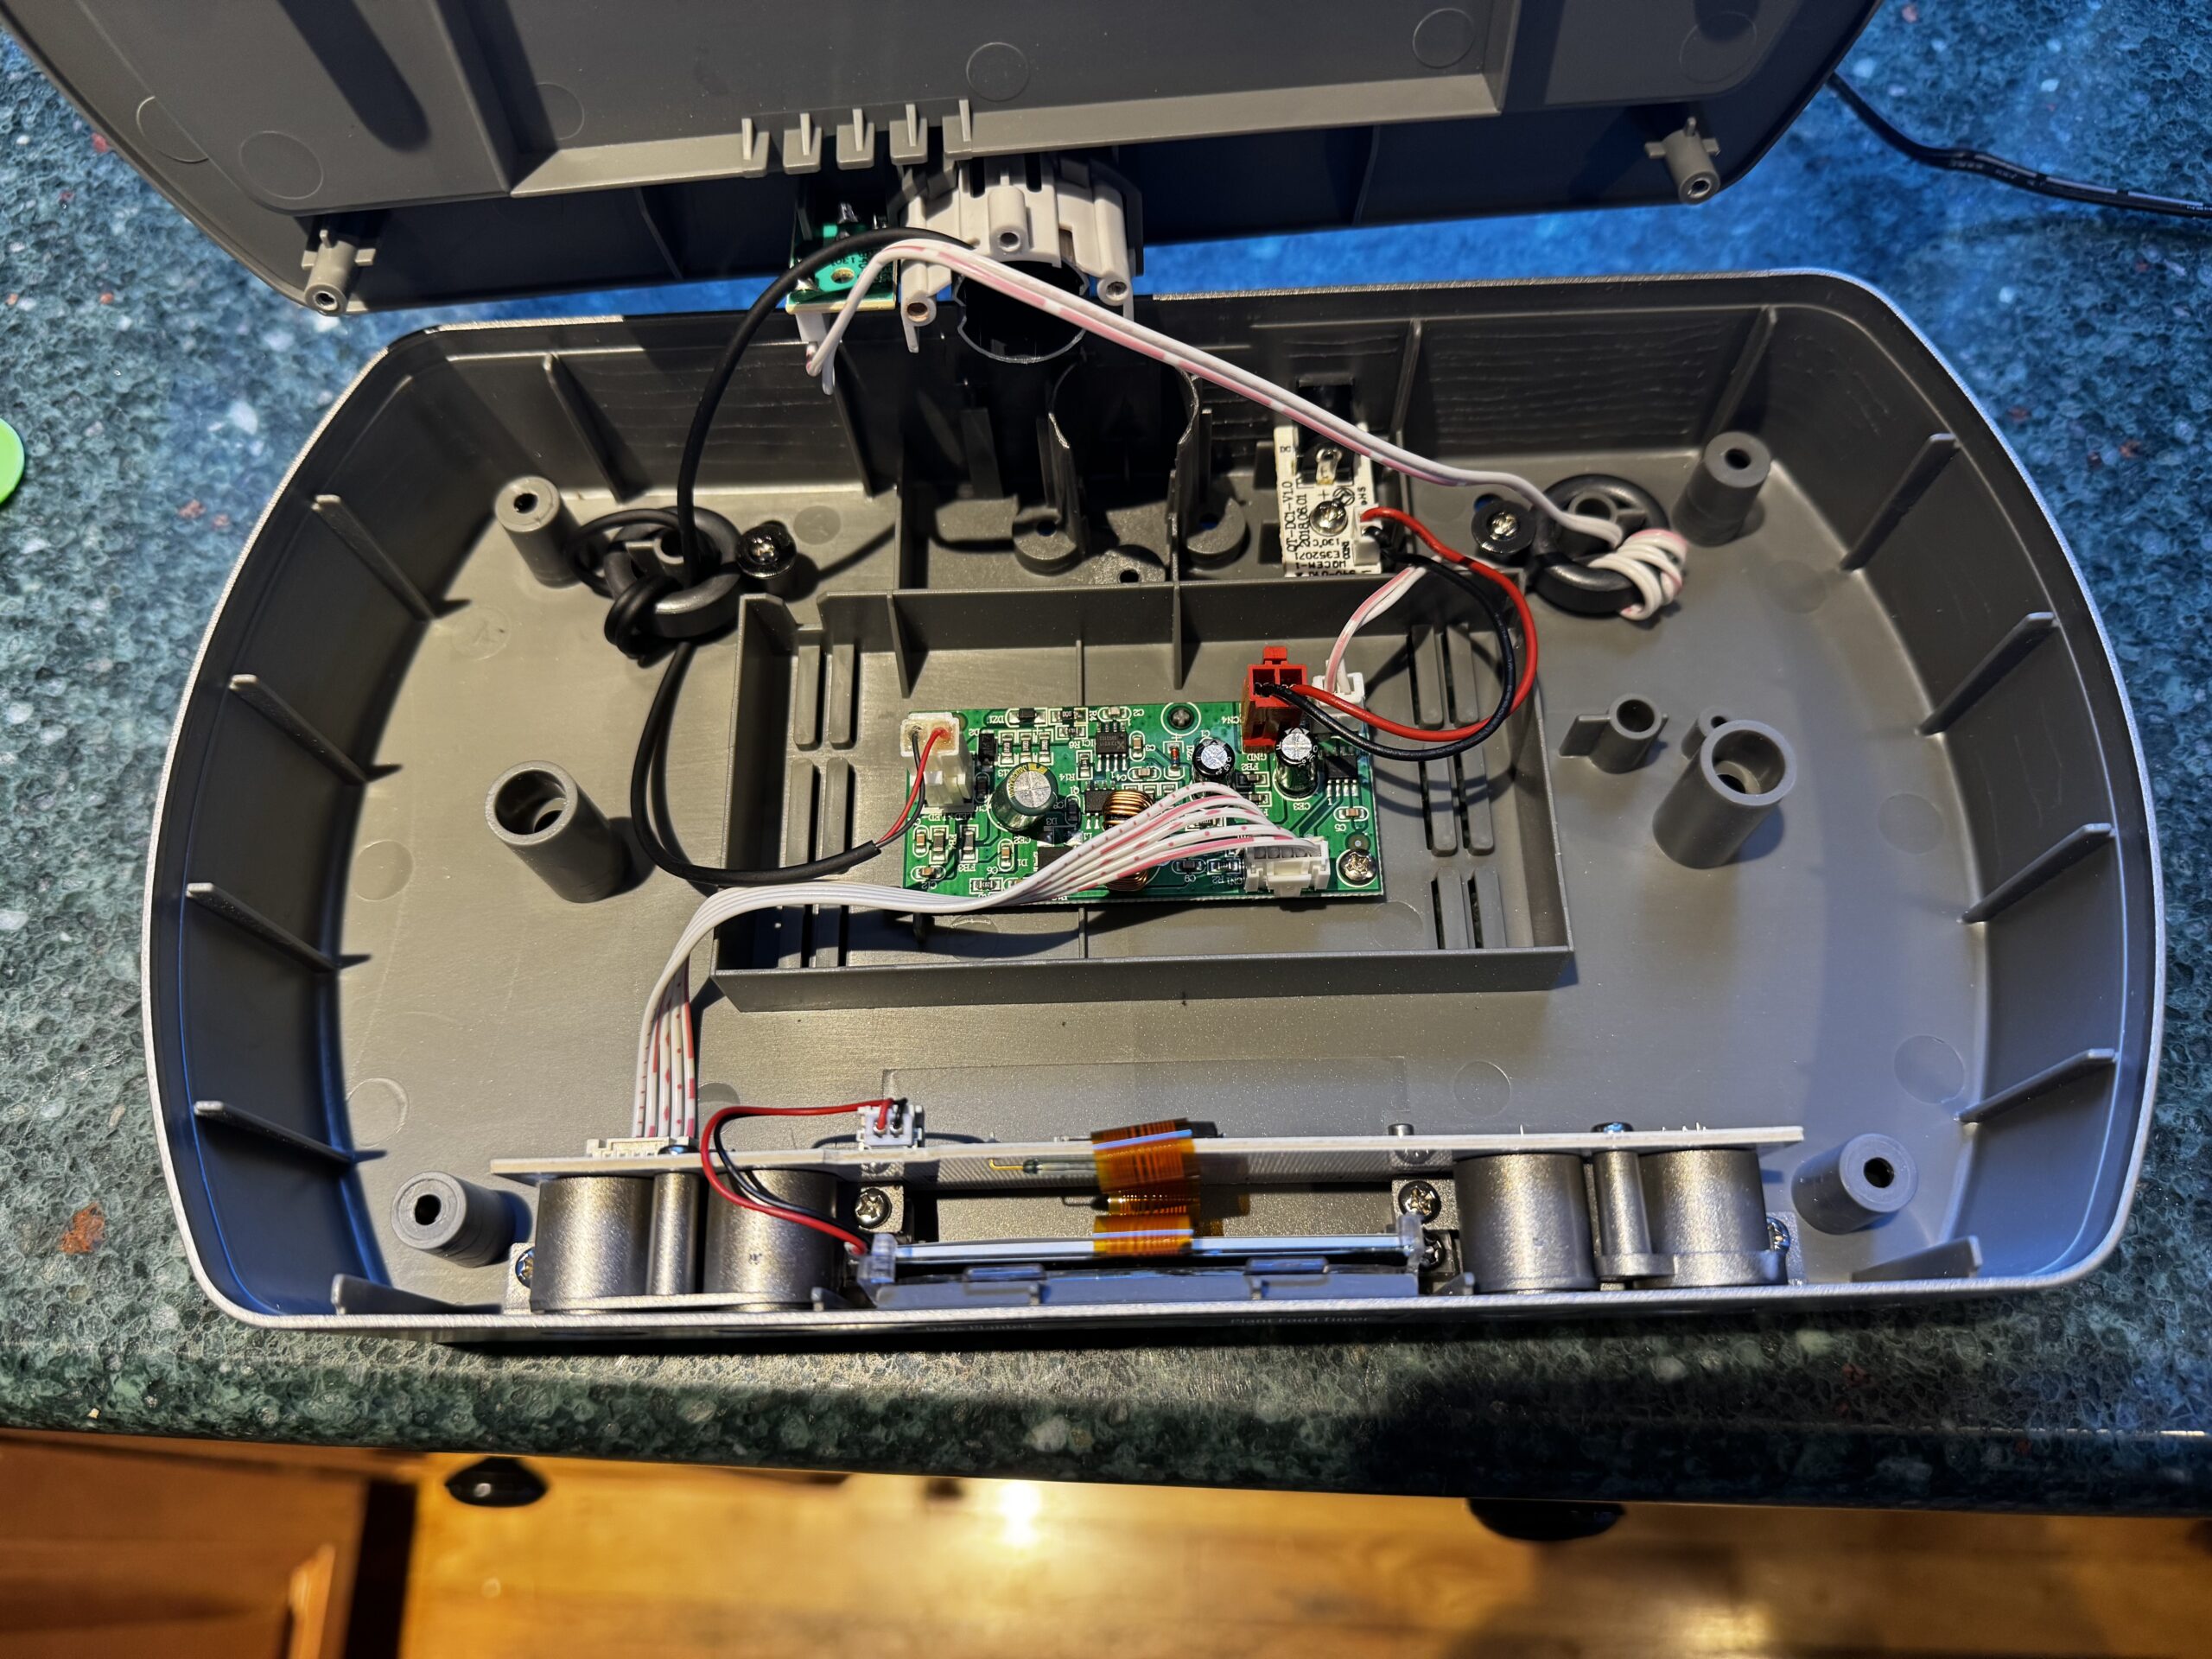
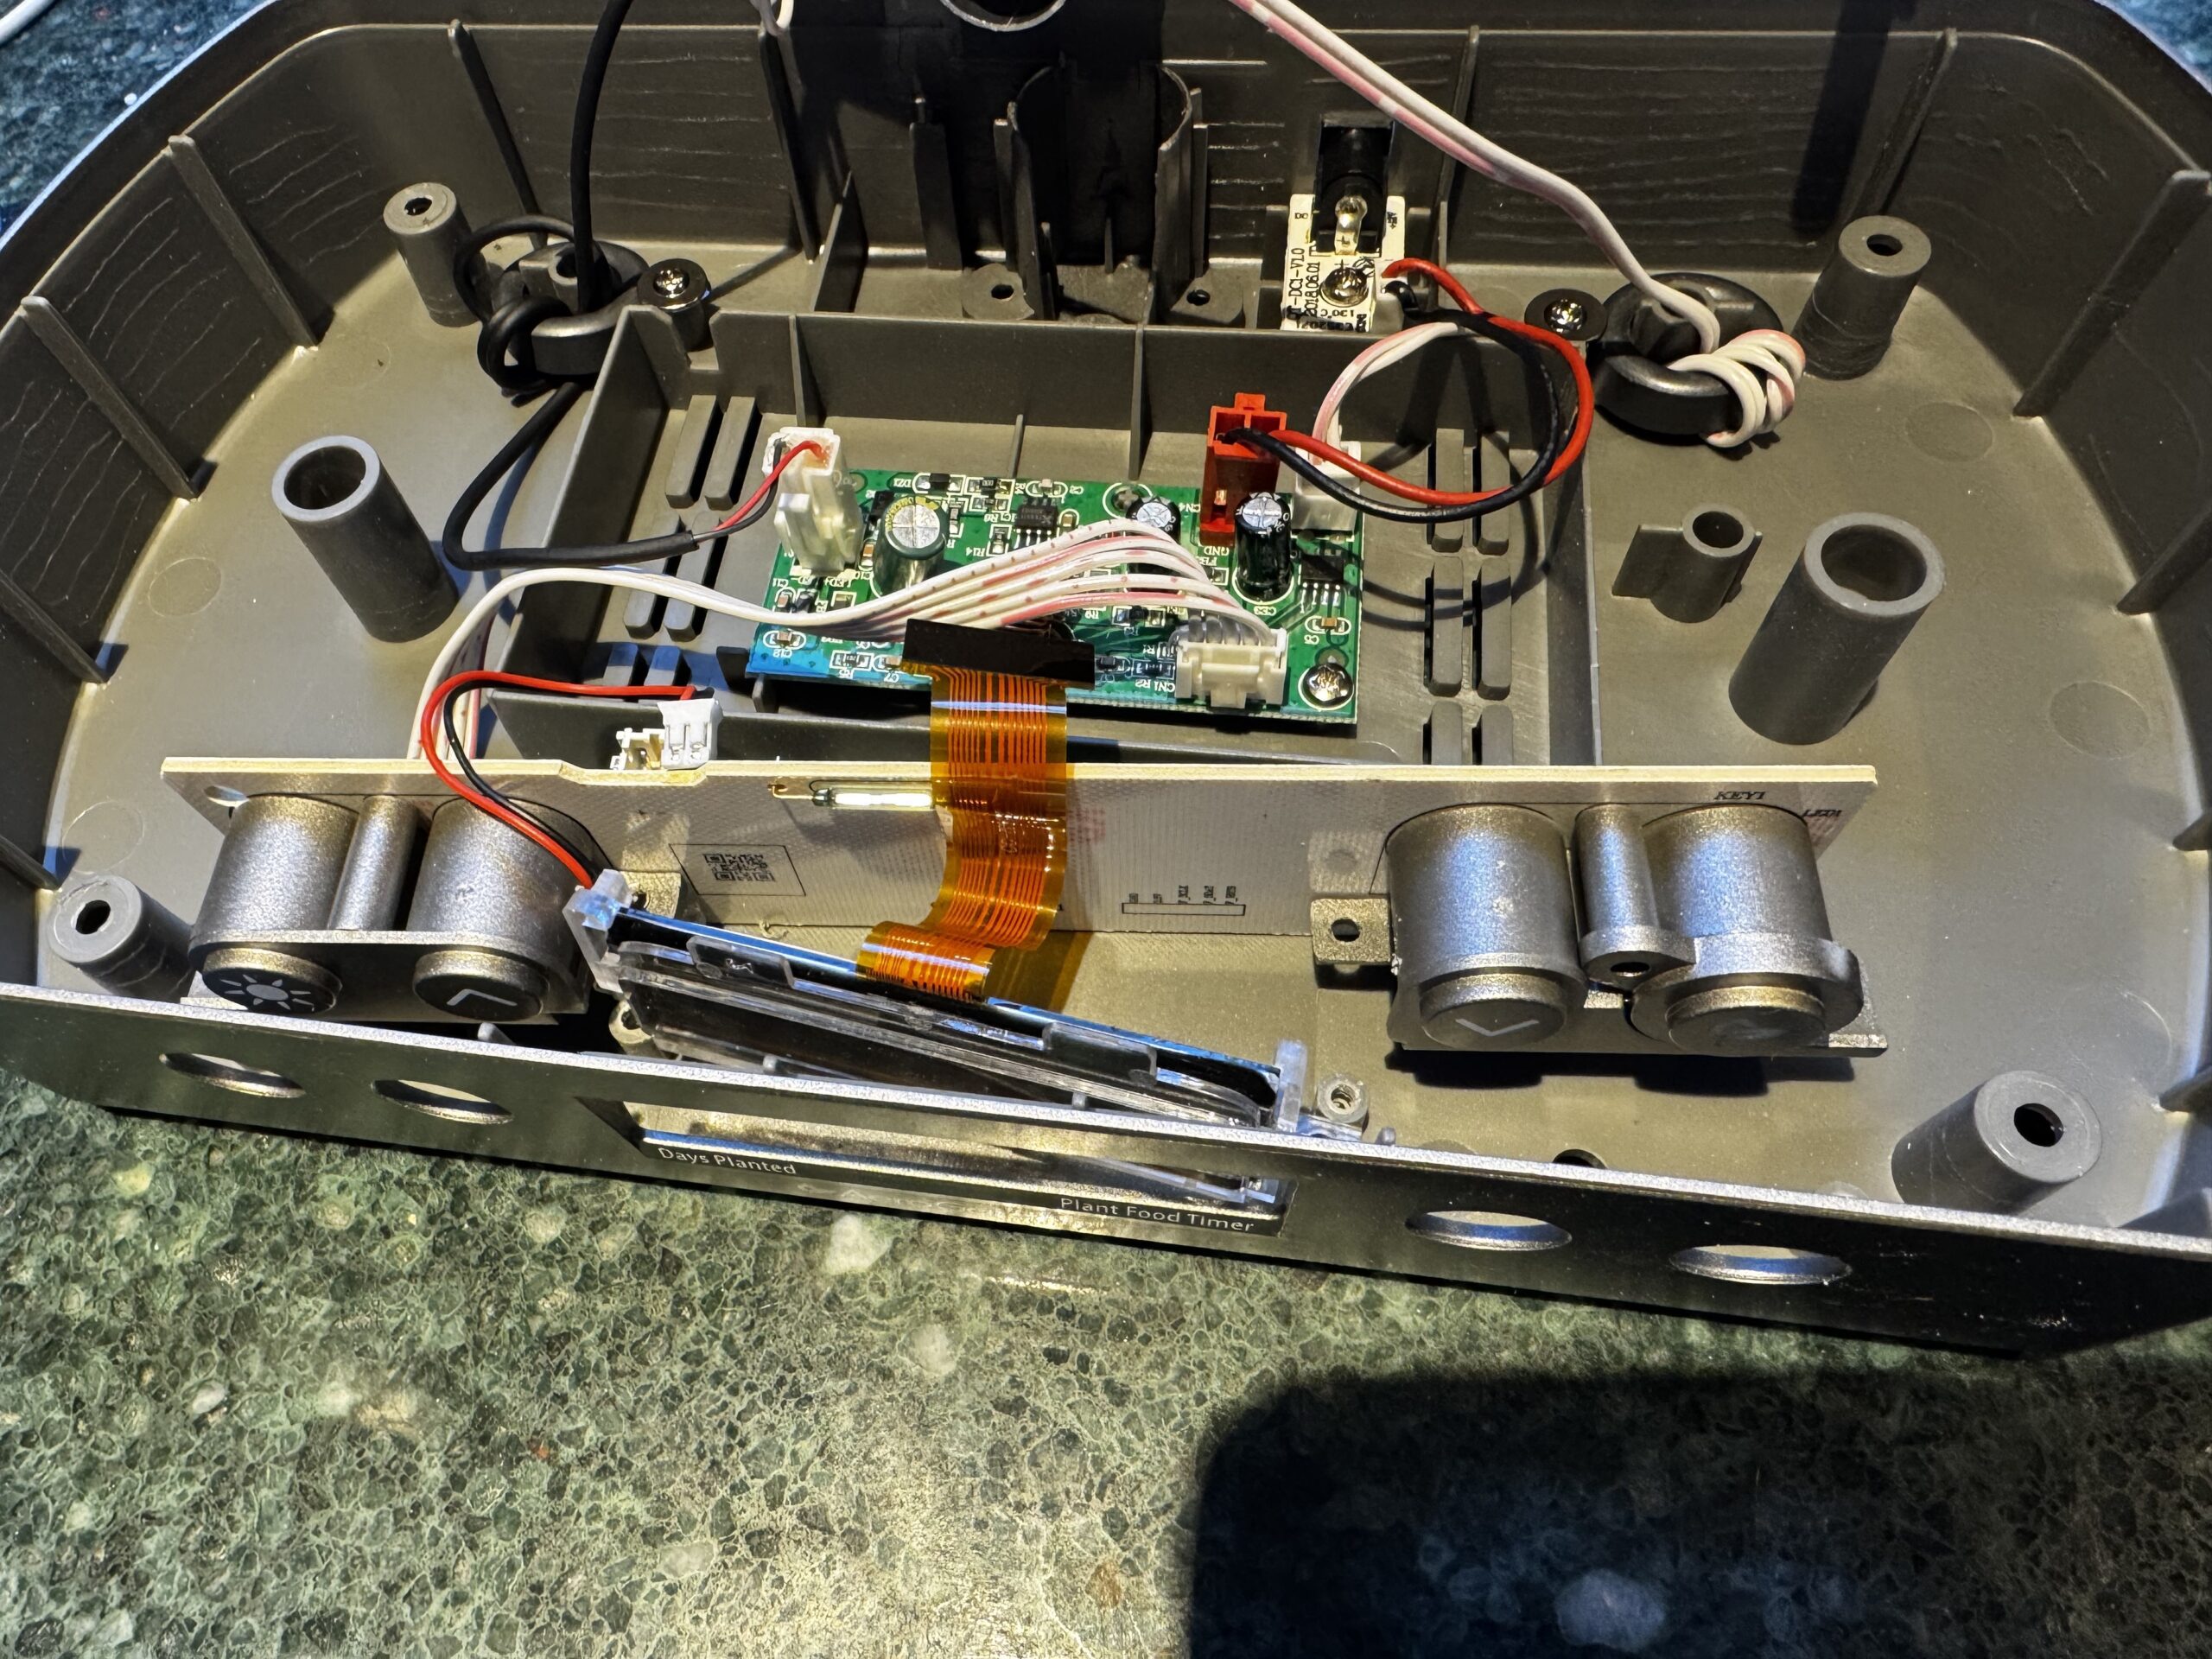
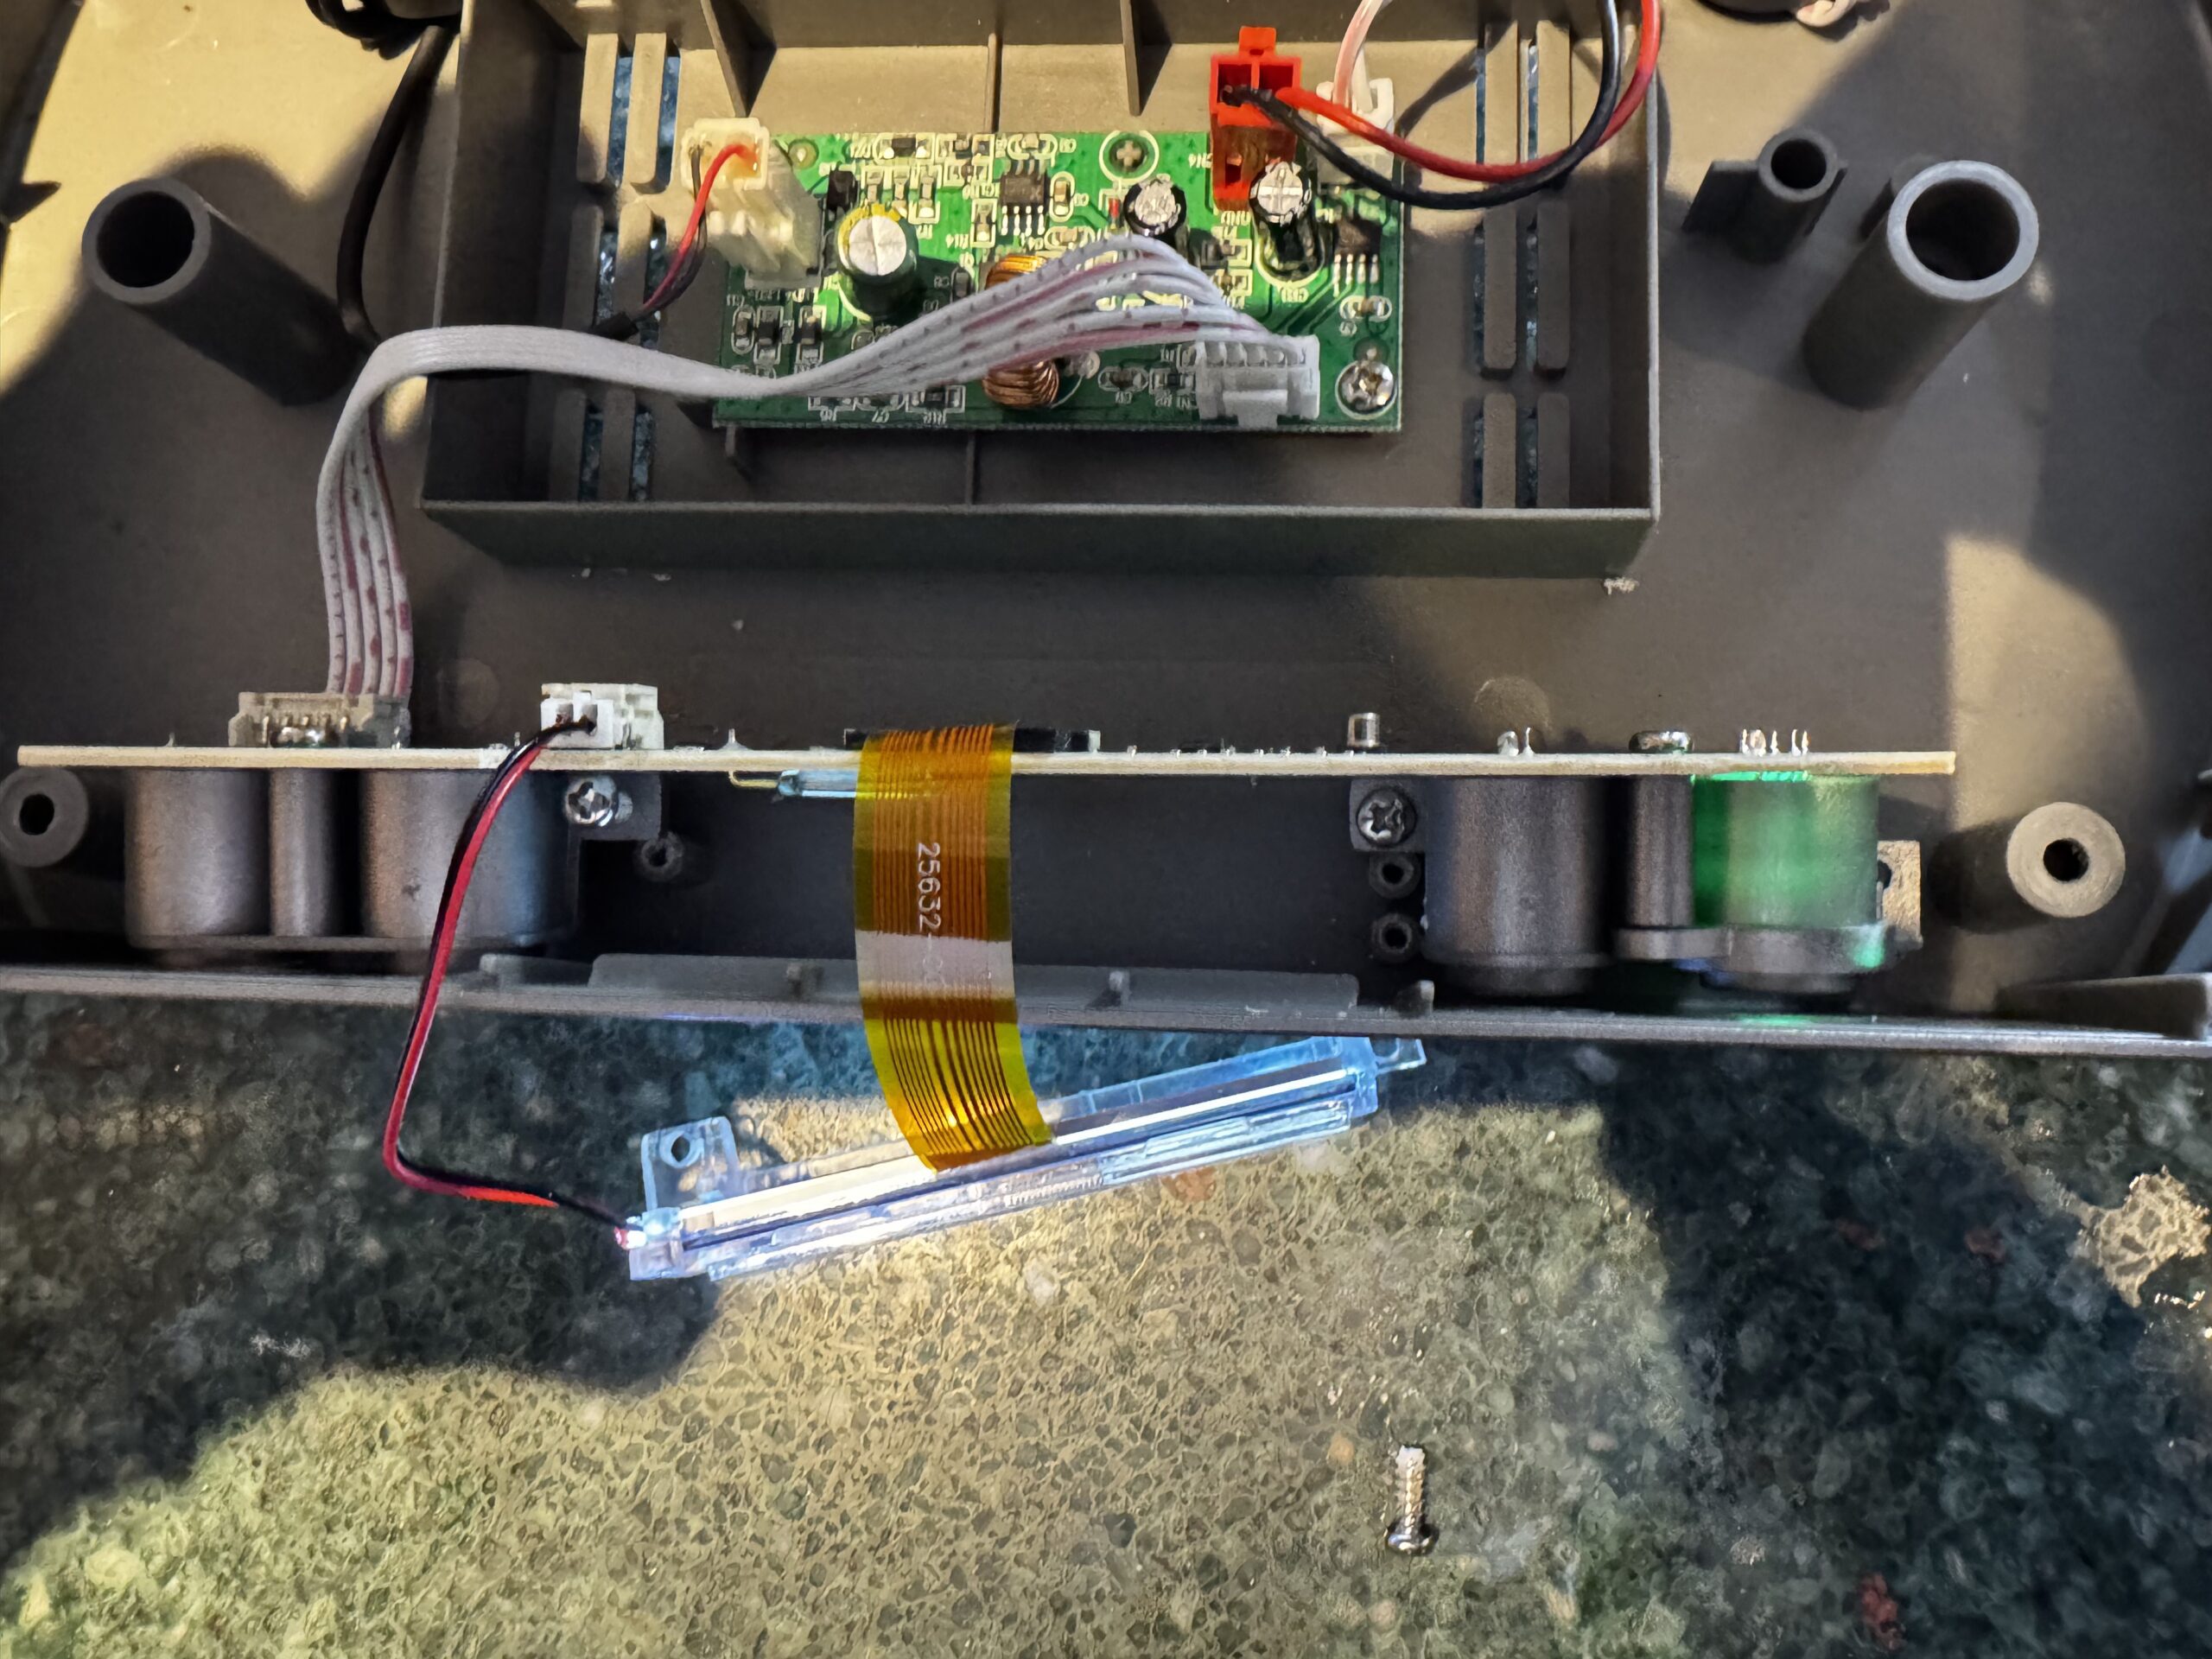
- Inspecting the Screen Connection: The screen module is held in with a couple of screws. So far all the screws are the same, except one which is a little longer. The left screw holding down the screen and the button assembly make sure you don’t lose it!

- Remove the button assembly screws + LCD screws: Everything is very simple to take apart. The screws come out, I used the tweezers to catch the screws, and the screen more or less falls out of the front. I checked for any obvious issues, like loose connections or visible damage to the screen but found none.
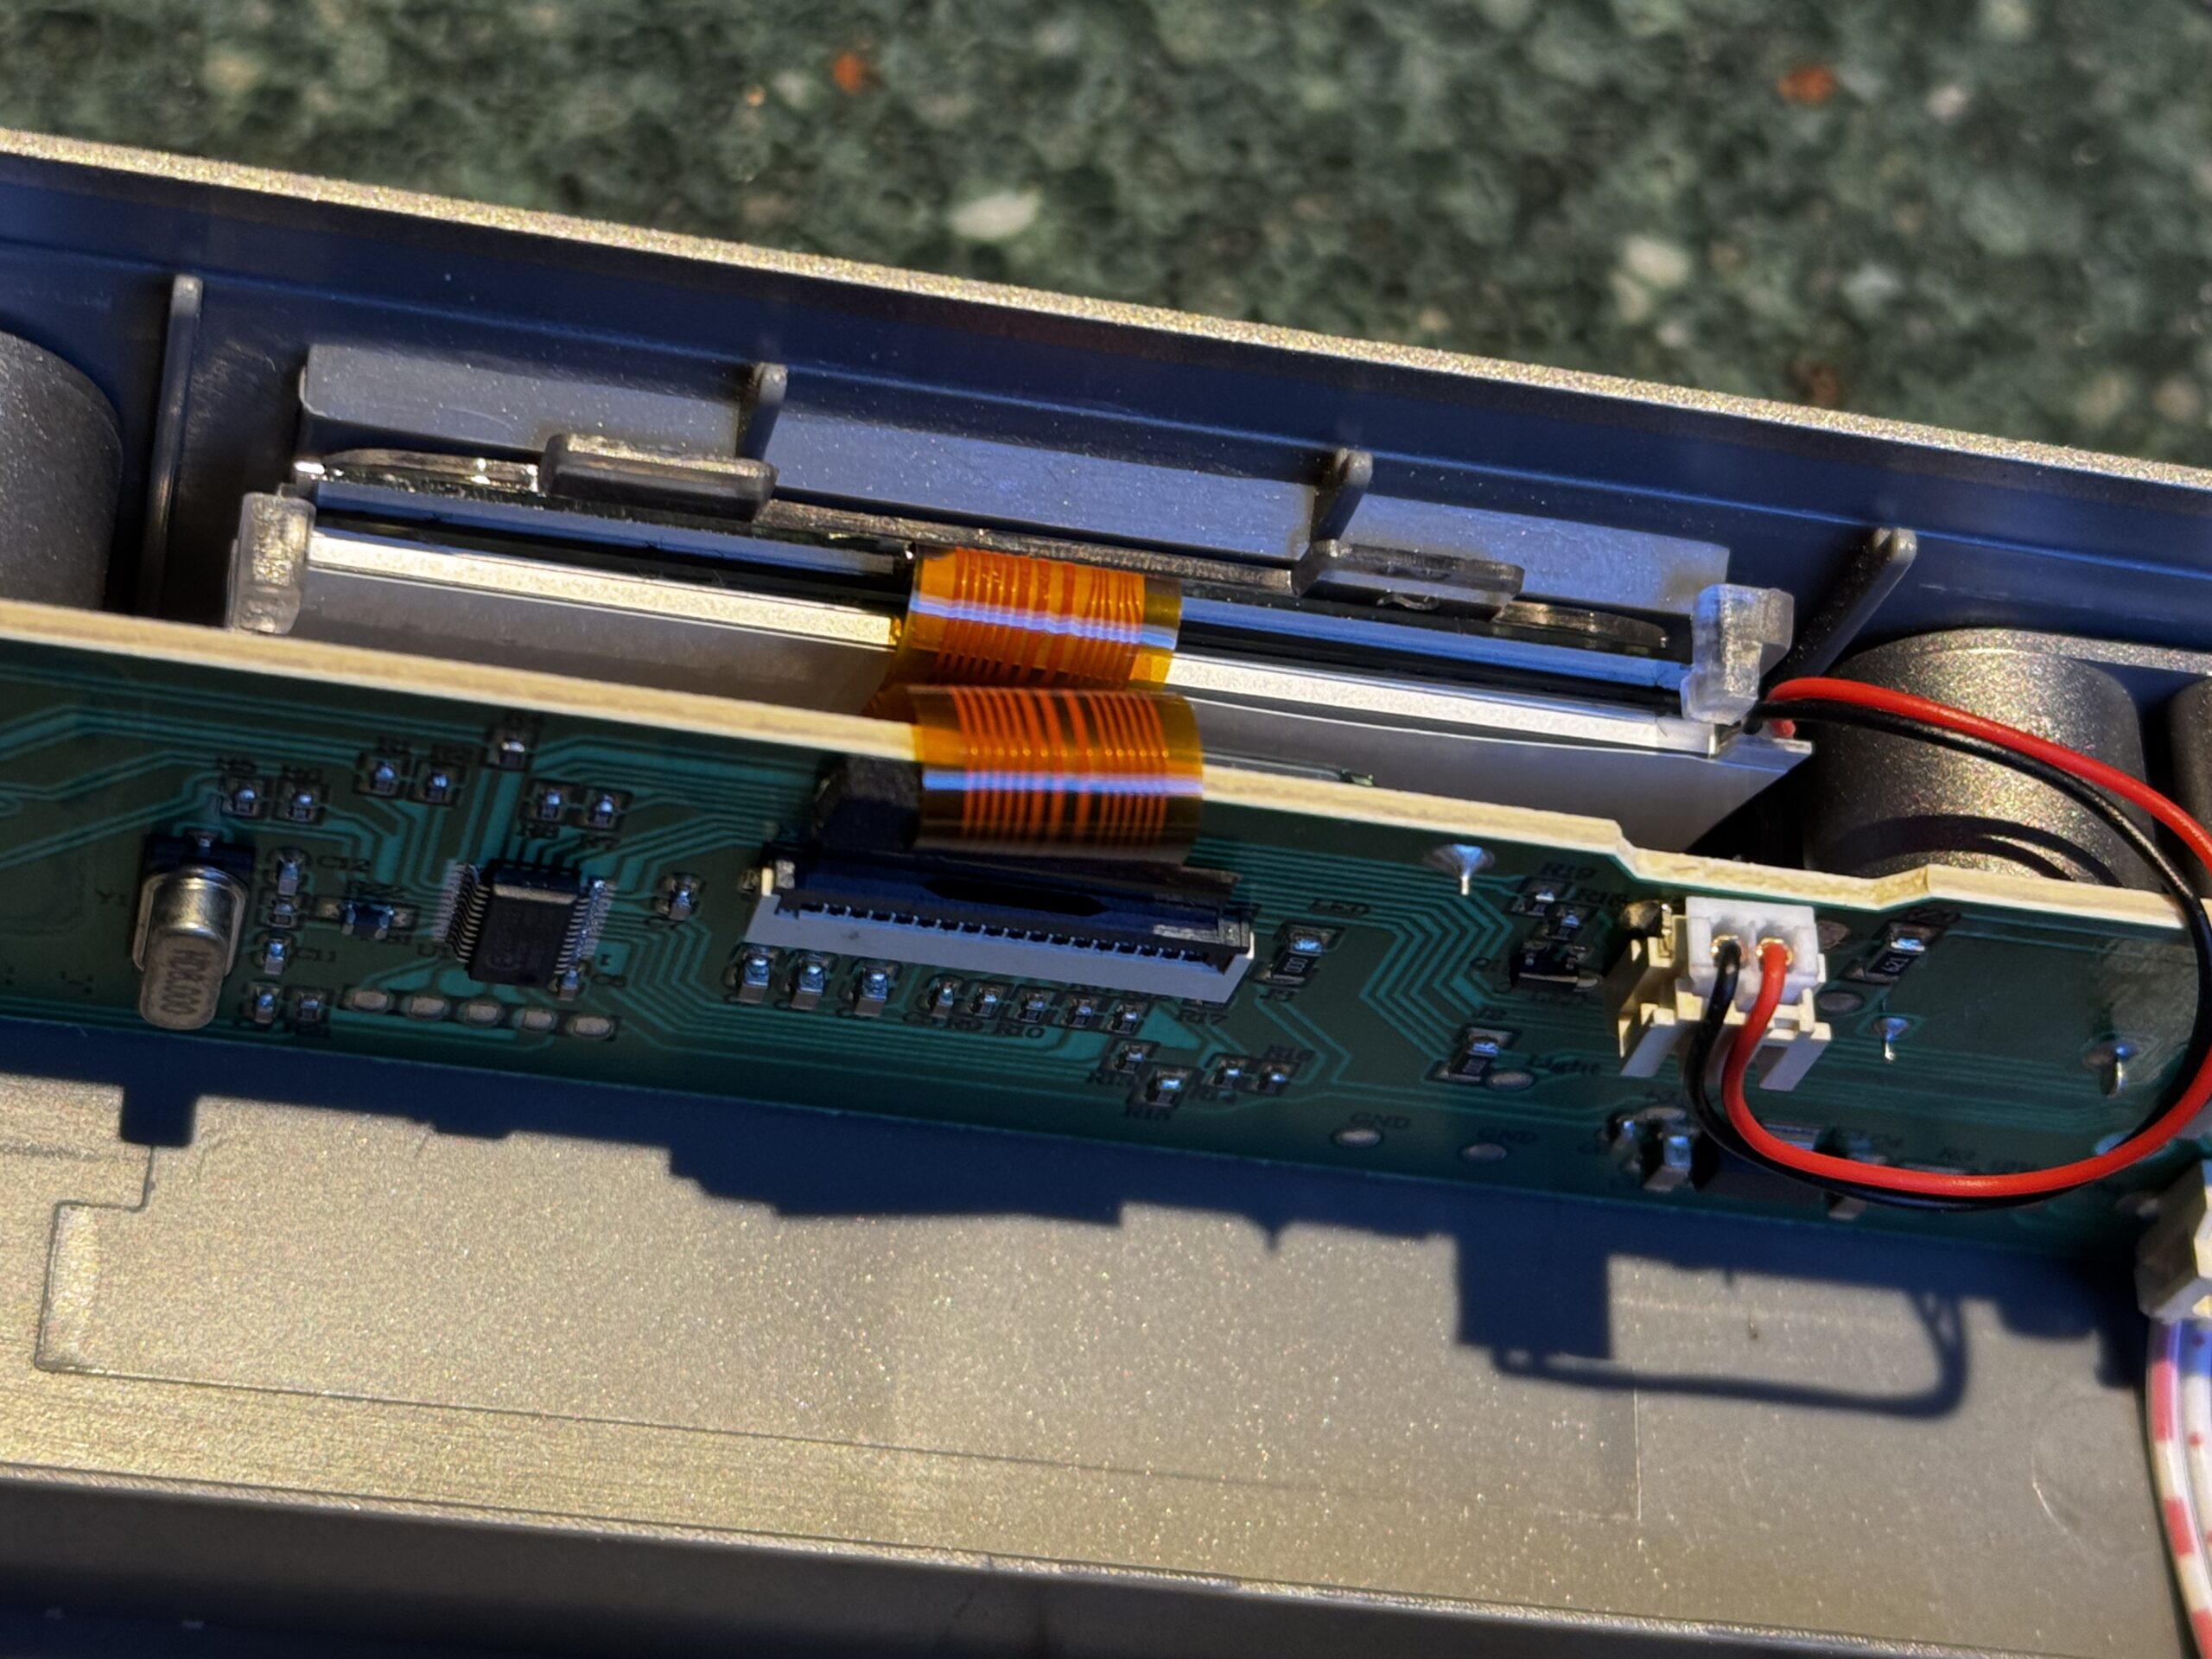
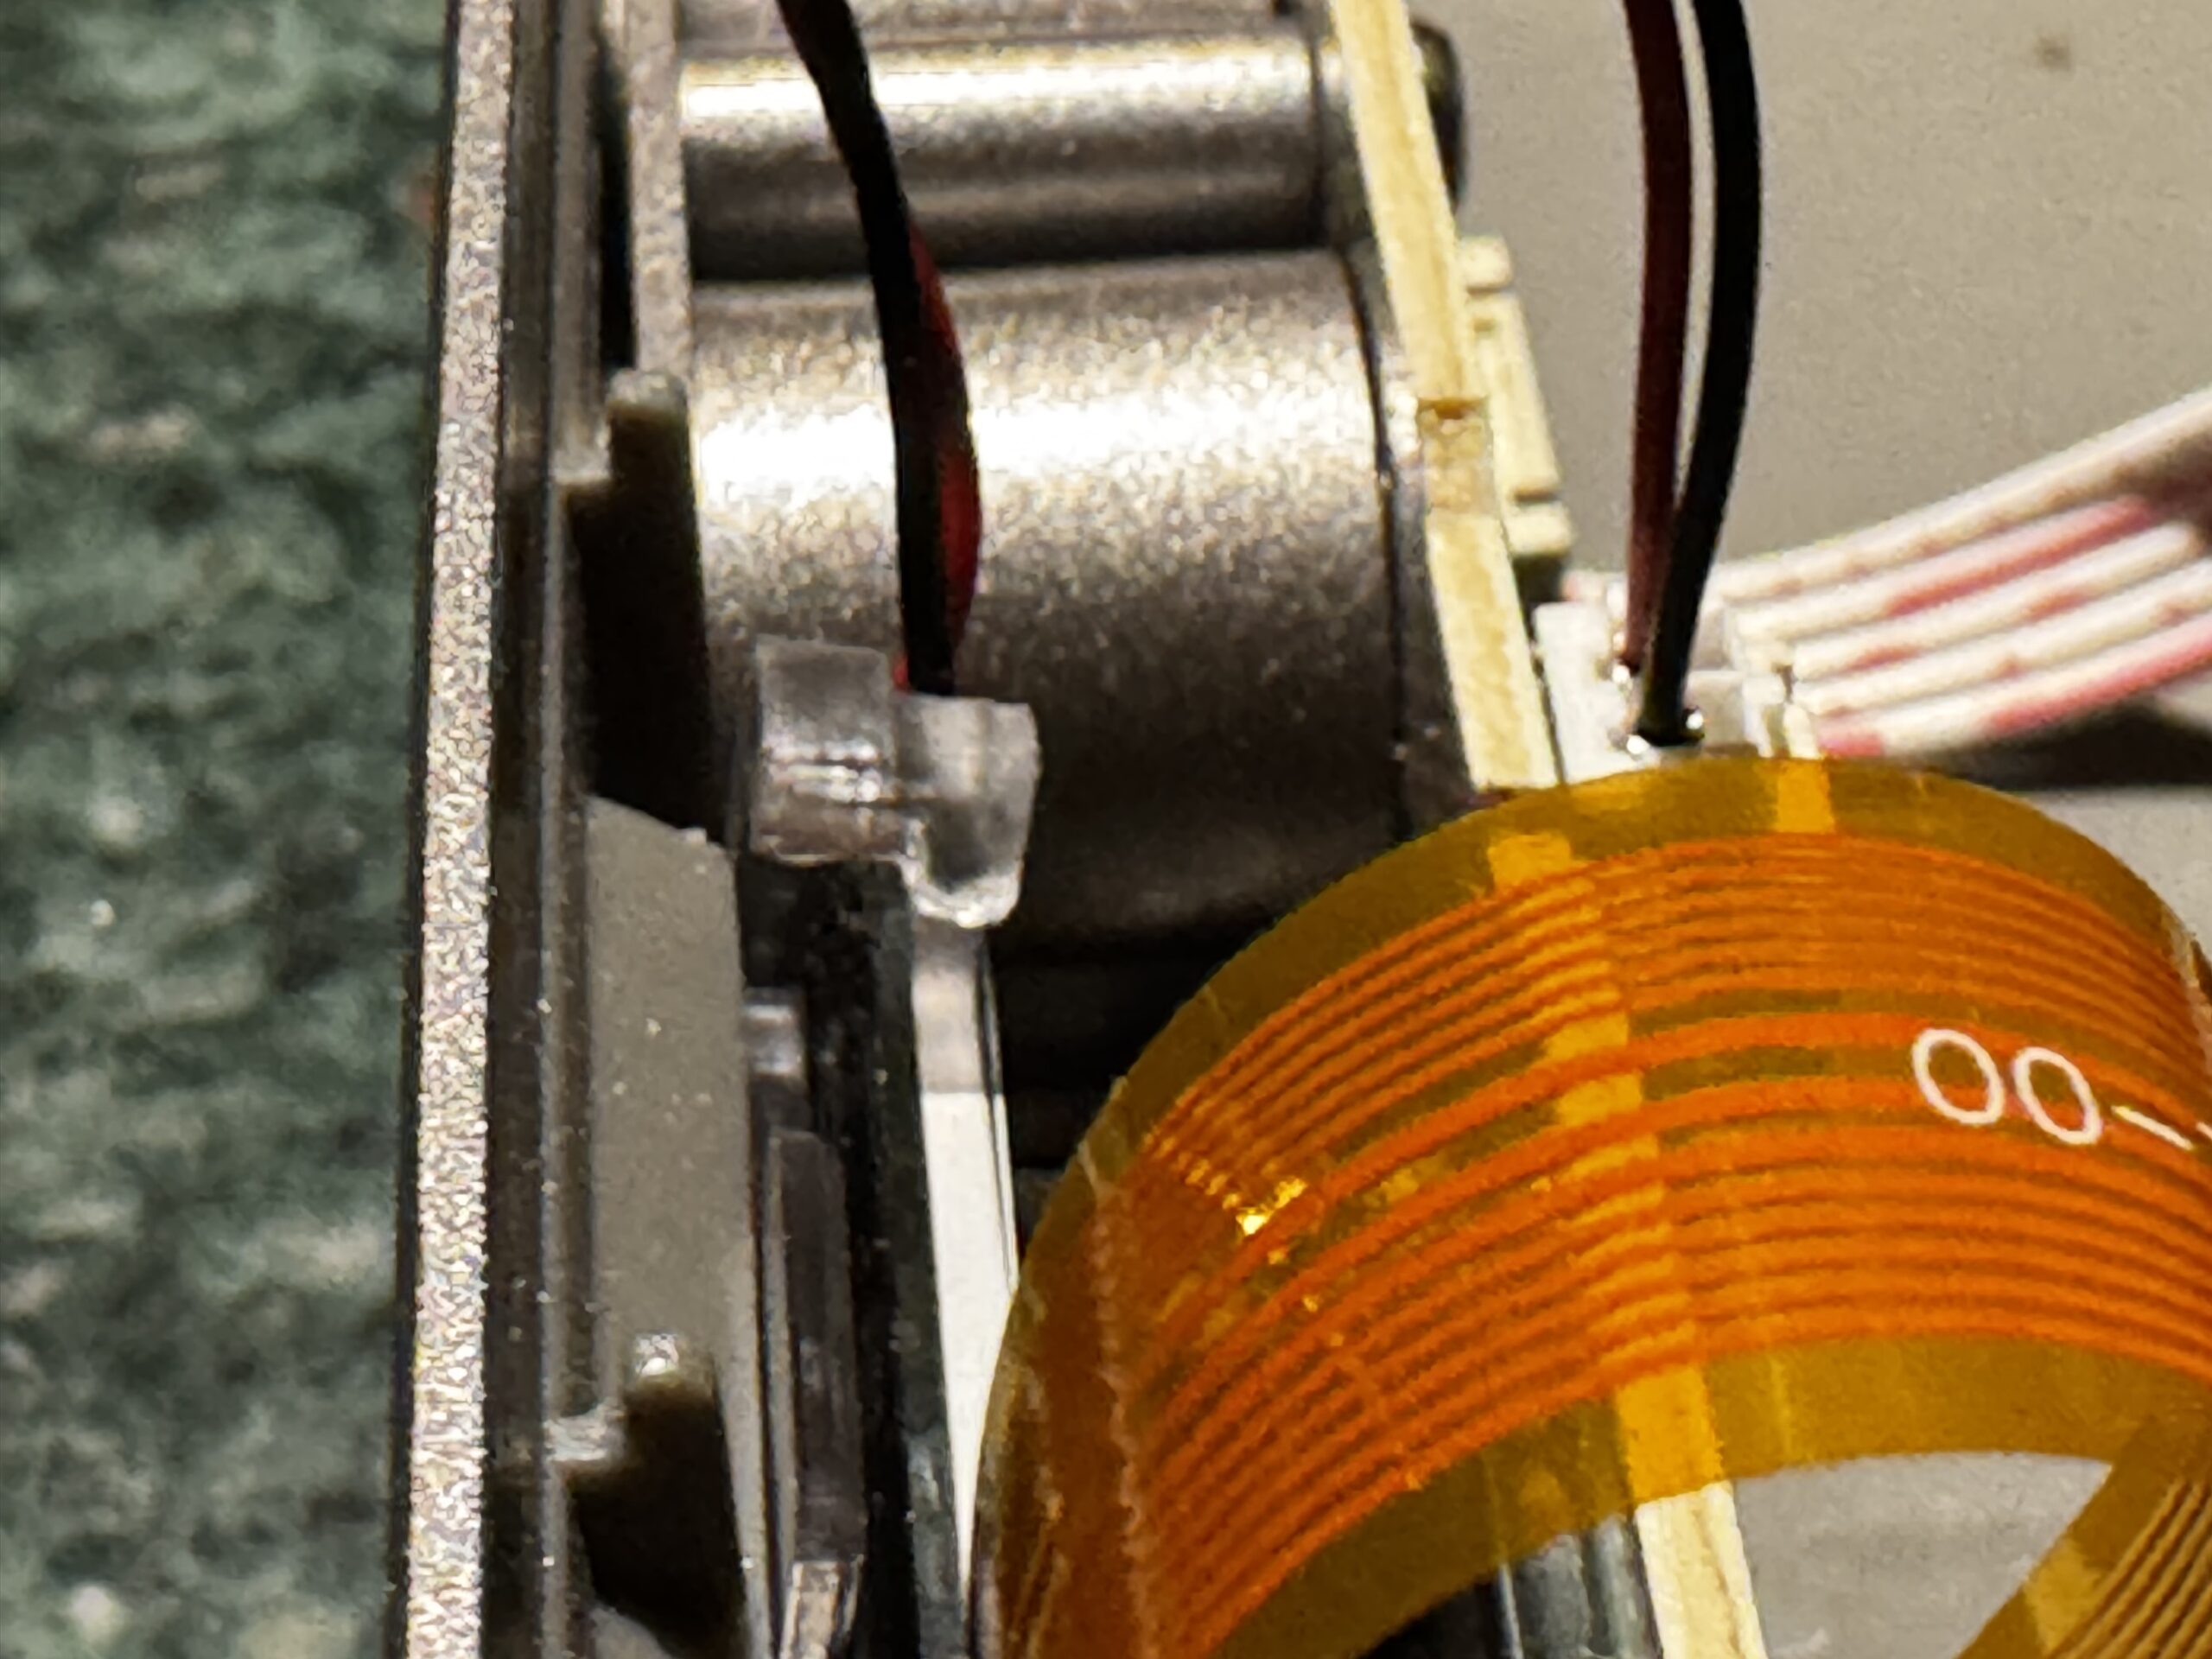
- Disconnect the LCD: There is a black connector holding the ribbon cable for the screen to the board. It flips up like a hinge. Use tweezers to pull straight up, GENTLY!
- Replace the LCD – hint, when removing the old LCD from the clear plastic holder be patient and take your time. It is very awkward to remove the LCD and getting the right side (looking at the LCD straight on) was easier to get out for me. The new one slipped in more or less fine.
- Ran a test with the screen out before I put everything back together…
And it works!

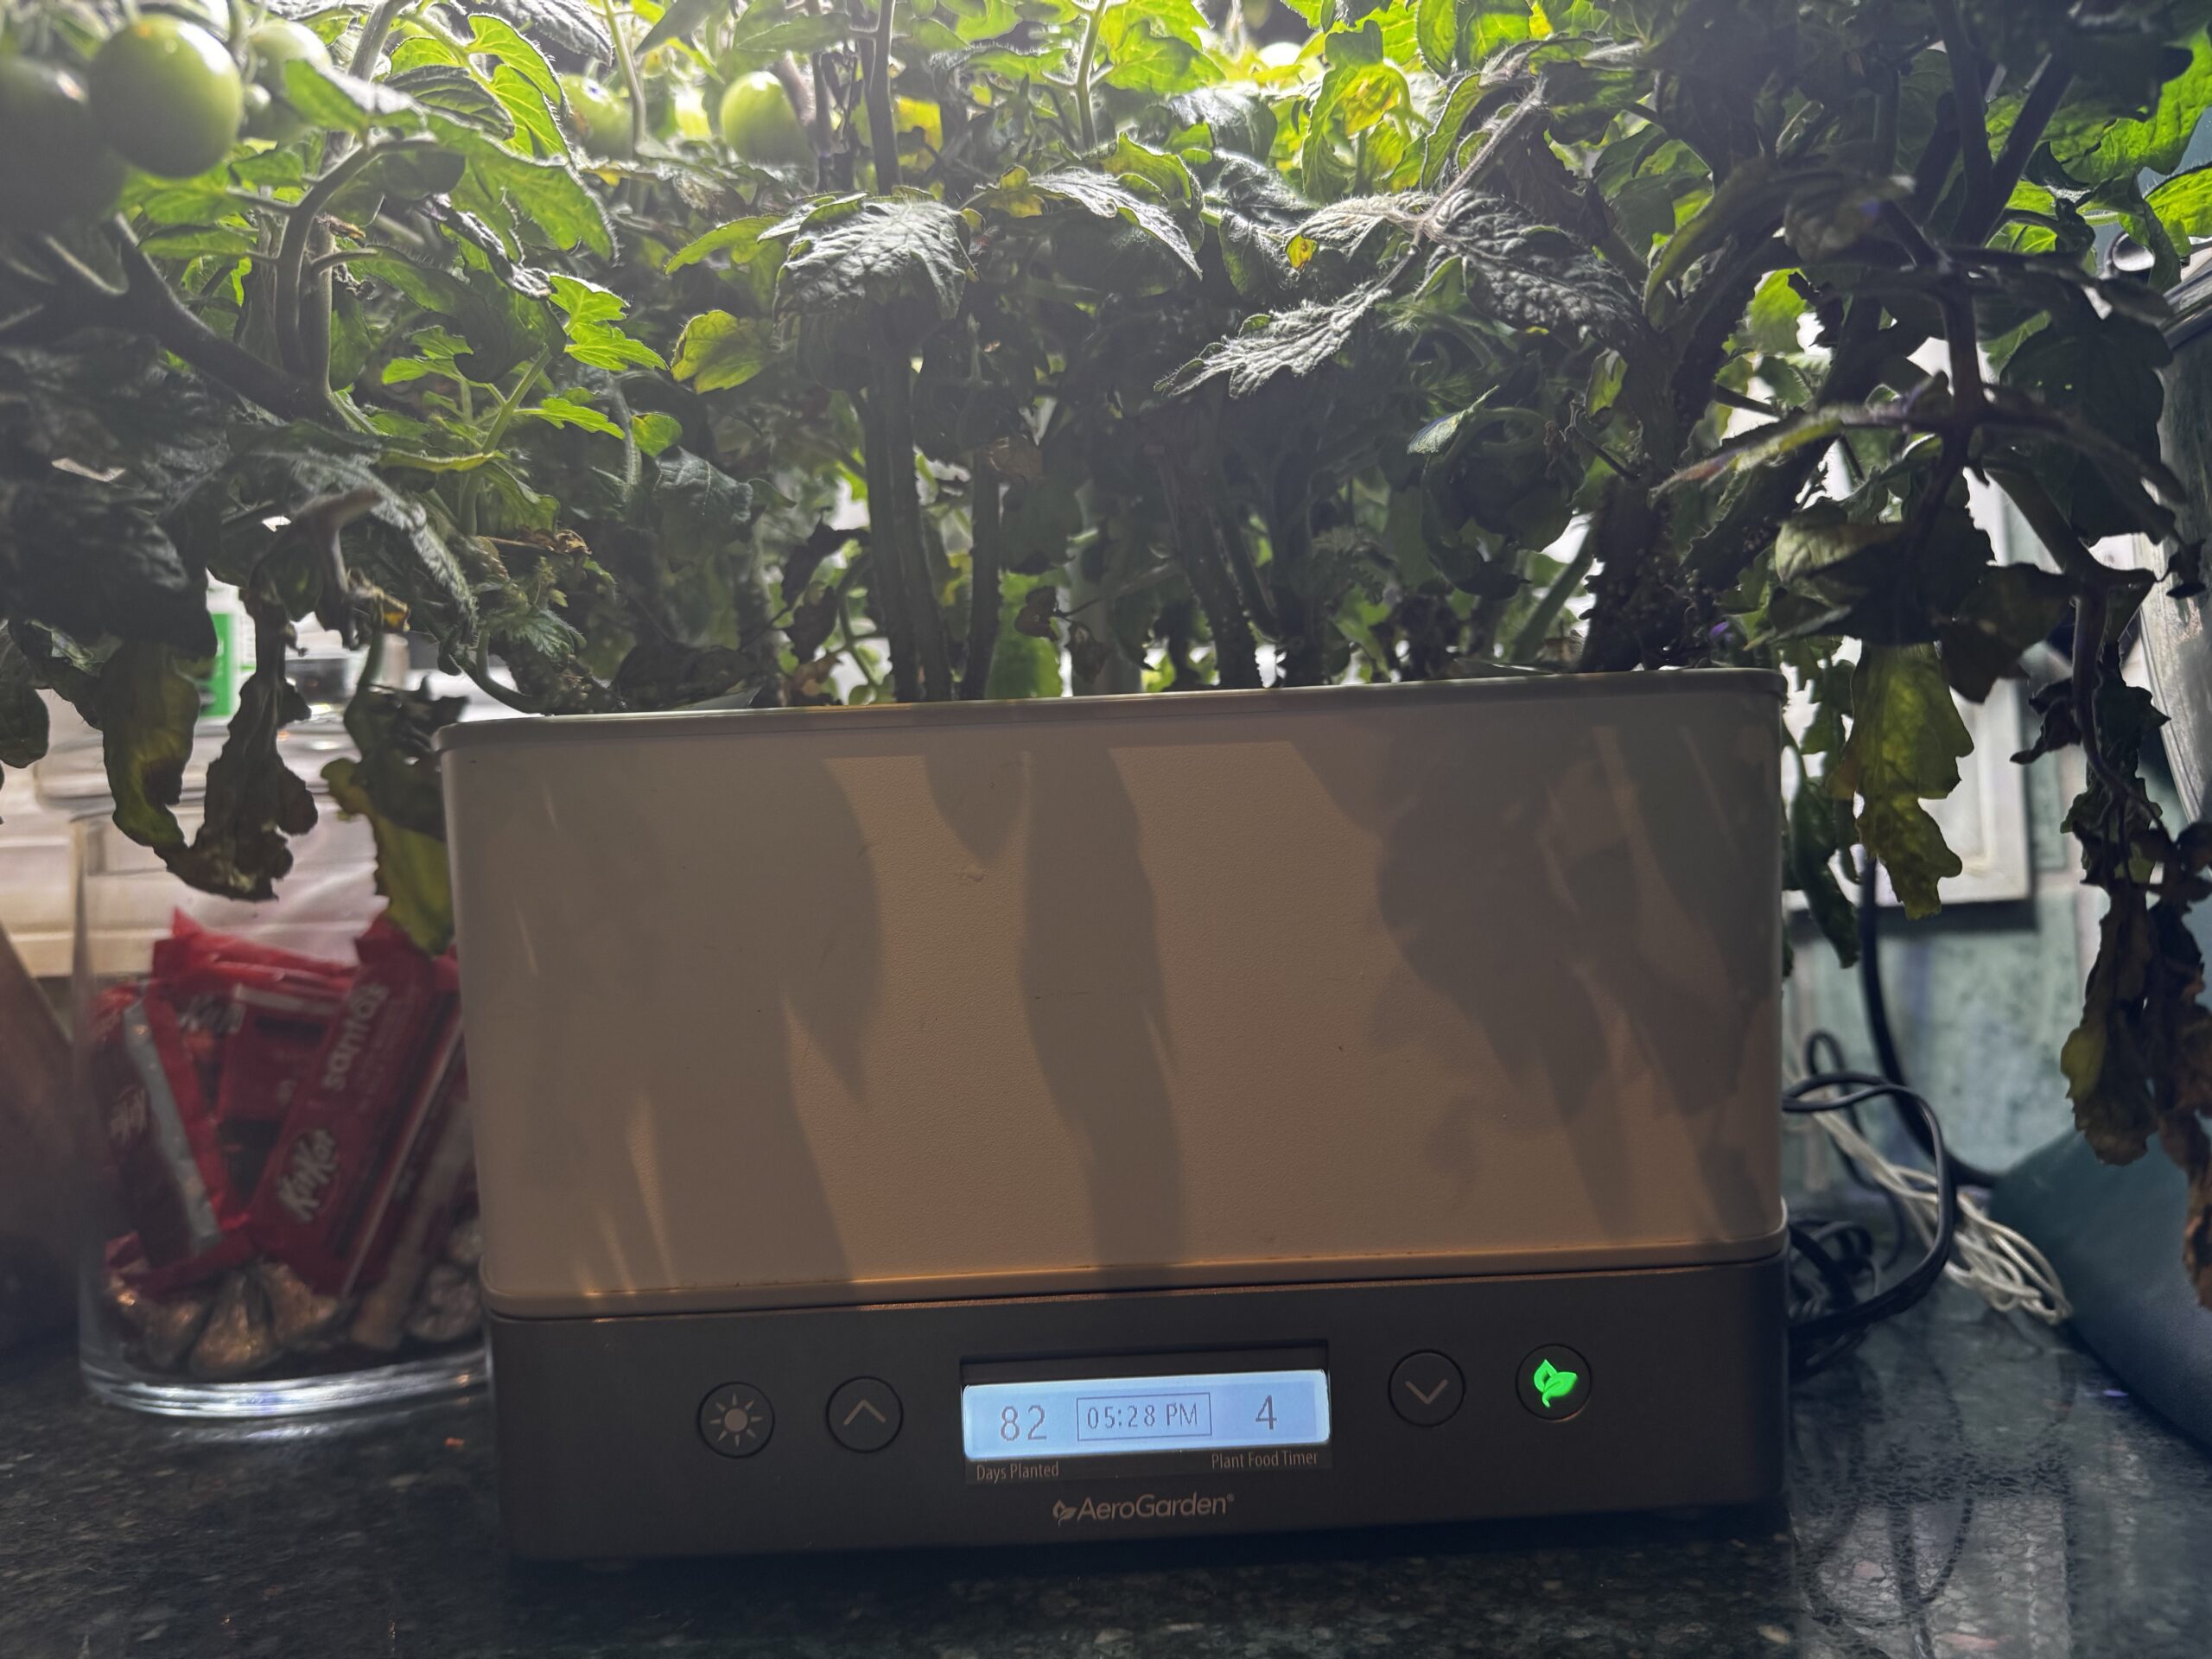
Woohoo!
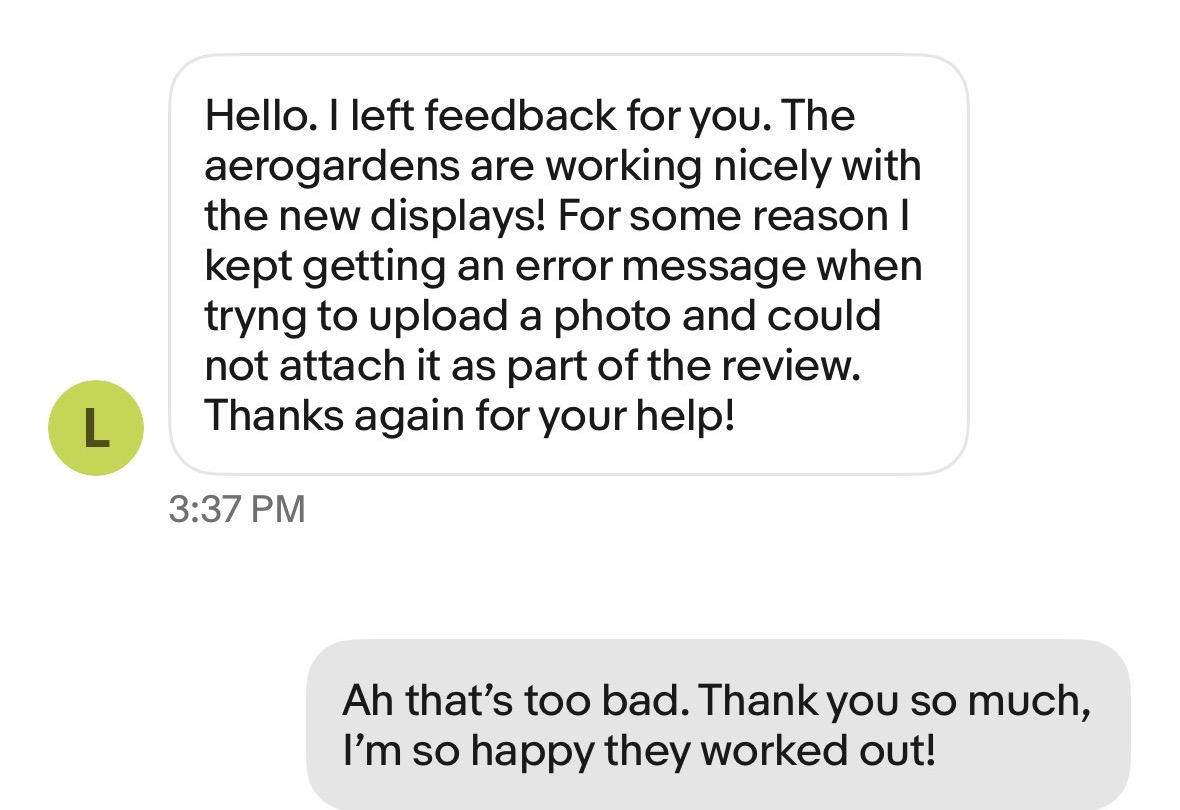
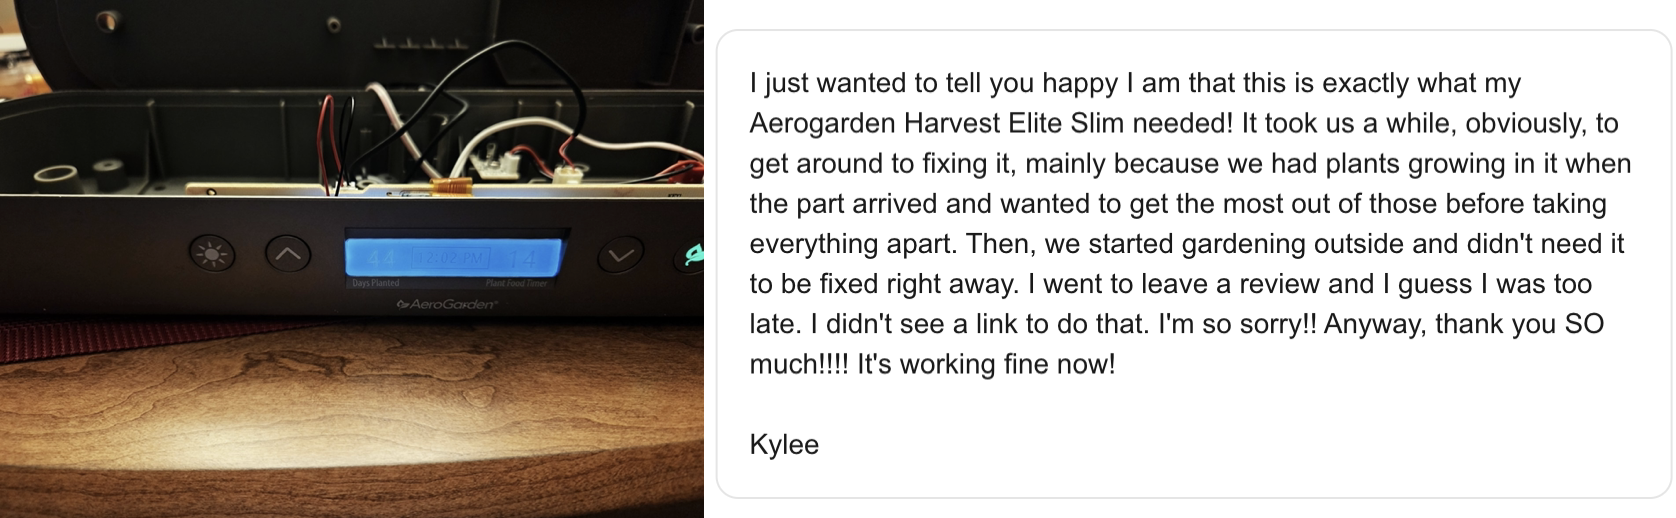
Also – check out Natalie, who got hers fixed!


For Anyone That Needs These Screens…
If you don’t want to order them from China and wait a month (update: new tariffs have been levied on all imports from China; I am keeping the price the same until I sell out, so please be sure to grab yours before prices increase.) I have a couple for sale here.
Thanks for reading!
Michael H. April 2025 – “Thanks for publishing this; fixed my wife’s AeroGarden and now I’m her hero (at least for a few days…) Excellent instructions.”
Mike May 2025 – “Got the part today, took about 30 minutes to replace. The link you sent was helpful. My wife is very happy I was able to fix it! Thank you!”
11 Responses to Fixing Aerogarden Harvest Elite LCD | How To Fix a Broken Display That’s Not Working | Aerogarden Troubleshooting